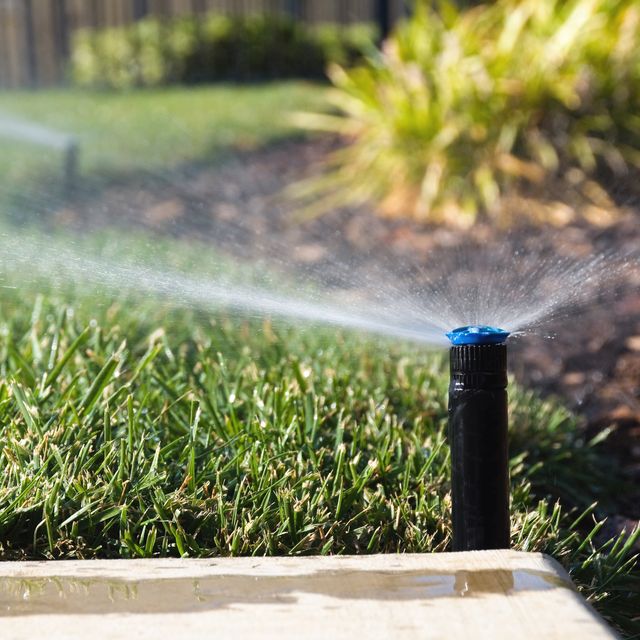
An in-ground sprinkler system is by far the easiest and most effective way to water your lawn. You can program it to automatically water the grass on a regular schedule, which means you won’t have to drag out the hose and sprinkler every few days. And a properly designed sprinkler system provides total coverage, ensuring there aren’t any grassy areas that are left either parched and dry, or over-watered to the point of drowning. By metering out a precise, consistent amount of water, automatic sprinklers not only make it easier to maintain a lush, green lawn they’ll also save you money by not wasting water.
💡 For the best in class DIY projects and more, join Pop Mech Pro!
In-ground sprinkler systems are available from professional contractors, but they’re not cheap, costing on average between $2,500 and $3,500 for a one-quarter acre lot. However, there are DIY sprinkler systems now available that can save you up to 40 percent over a professional installation. Some you can even control with an app on your smart phone. And the sprinkler components are affordable, readily available, and easier than ever to assemble.
If you want to know how to install your own sprinkler system, though, here are the basics to know.
Check the Water Pressure
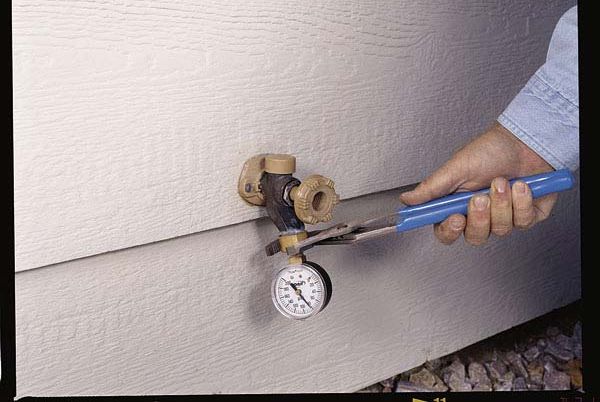
It's important to first determine the water pressure at an outdoor faucet, using a simple pressure gauge. Then, use a 5-gallon bucket to measure how much water your home’s plumbing delivers in one minute. Send the water pressure information to the sprinkler manufacturer you have chosen, along with a sketch of your property, including all critical dimensions.
In return, you'll receive a system layout and a list of all the sprinkler parts you’ll need, including those not sold by the manufacturer, but available at most hardware stores. For this installation, we used Rain Bird, a company that’s been designing and manufacturing irrigation products since the early 1930s. The system layout they provided divided our lawn into zones, each controlled by a zone valve. In this case, to ensure total coverage, there were eight zones and 48 sprinkler heads. The price: $1,500.
In warmer climates, you can use PVC pipe to supply water to the sprinkler heads. Here, we used polyethylene pipe, which is more flexible and able to withstand freeze-thaw cycles. Consult the local building department to see if you need a building permit to install a sprinkler system.
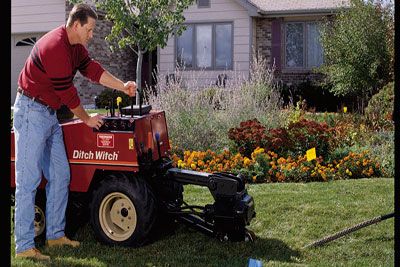
The hardest part of installing a DIY sprinkler system is laying all the underground water-supply piping. That is, if you dig the trenches by hand. Opting for the quicker, easier route, we rented a pipe-pulling machine for $180 a day, which saved an immeasurable amount of time and toil.
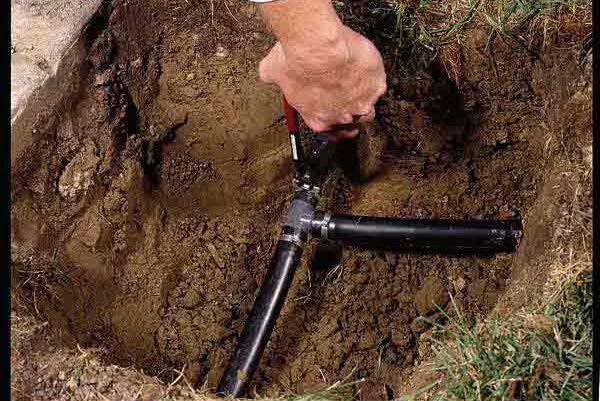
We also bought some self-tapping saddles, which provide the quickest way to tap into the polyethylene piping without having to cut or drill the pipe. Just push the saddle down onto the pipe at each sprinkler head location, then twist the handle to puncture the piping, so water can flow to the sprinkler.
Finally, every sprinkler system needs a backflow preventer to keep the sprinkler system from contaminating the home’s potable water supply. A standard, surface-level backflow preventer will work, but it must be placed 12 in. above the highest point of the yard. Here, we installed a reduced-pressure backflow preventer and installed it in the basement where the system will be drained each winter.
Running the Pipes
If digging the trenches by hand, dig the main water-supply lines first, followed by the shorter branch lines. The trenches should be at least 6 in. deep, but 8 to 10 in. deep will give you more room to work.
If you've rented a pipe puller, begin by attaching the end of the polyethylene piping to the machine's blade. When running a main line, it's best to wrap the low-voltage electrical cable around the pipe and pull both at the same time. With the piping connected, start the machine moving forward and lower the blade into the ground.
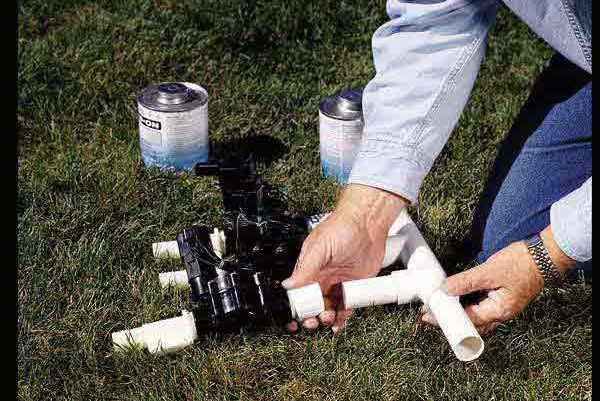
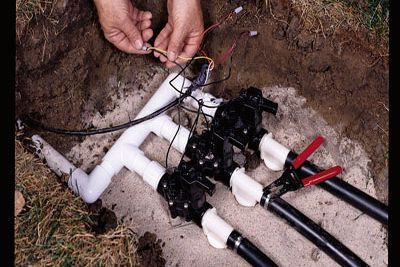
Next, drill through your home's rim joist, and run copper pipe and electrical cable through the hole and to the ground. Make the conversion from copper to PVC at ground level with a threaded connector. Run the main PVC line, along with the cable, to the first zone-valve location. Assemble the zone valve above ground, and then cement them to the underground piping.
Install a plastic, inline drain fitting on the downstream side of each valve and connect the cable wires. Our cable had 10 wires and each zone valve had two lead wires. Connect one of each pair of valve lead wires to the white common wire, which will service all of the valves. Join a different color-coded wire to the other lead of each zone valve. Continue making connections in this way until you've reached the last valve. With all the valves connected and wired, install the valve boxes and then backfill the trenches.
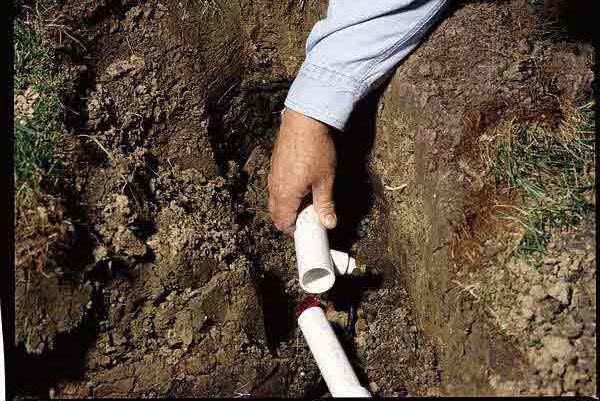
The feed line needs a drain installed at its lowest point. Thread a brass drain fitting into the threaded end of a PVC tee and install the tee downward at 45 degrees. Dig a small depression under the drain, and fill it with sand and gravel.
Start the pipe puller moving forward and settle the blade into the turf. The blade will shimmy the pipe down into the ground.
Assemble the zone valves above ground, then connect them to the underground pipes. Install a drain fitting to each valve.
Attach one of every valve's lead wires to the white common wire and connect a colored wire to each remaining lead.
Install a brass drain valve at each low spot of the feed line. Thread the valve into the tee with Teflon tape.
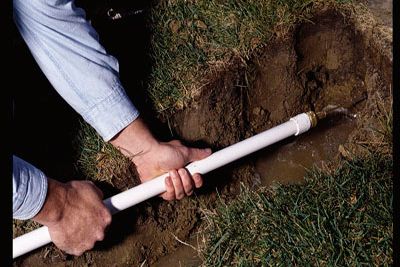
To tunnel under walkways, attach a pointed sluice nozzle to a length of PVC pipe. Connect a hose fitting to the opposite end of the pipe, then dig shallow trenches on either side of the walkway. Connect a garden hose to the pipe, turn the water on high and push the nozzle under the walkway to blast a hole clear through to the other side.
Use a sluice pipe to tunnel under sidewalks. The brass fitting is sold at hardware stores and home centers.
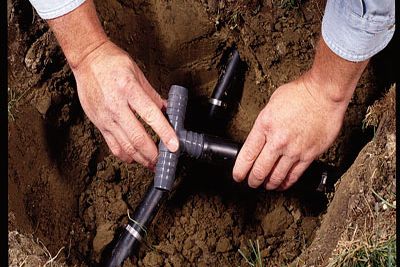
Polyethylene pipe is joined together with barb fittings, which can be secured with common hose clamps, but stainless steel crimp rings are easier to install. Sever the pipe with a scissors-style tubing cutter, then slide the rings onto the pipe and crimp each one with pliers.
Use a scissors-type tubing cutter to slice polyethylene pipe. It's quick and easy to use, and leaves a clean edge. Slide the crimp ring onto each pipe and insert the barb fitting.
Slide a crimp ring onto each pipe and insert the barb fitting. Slide on the rings and crimp them tight with pliers.
Draw the crimp rings together with crimp-ring pliers.
Installing the Heads
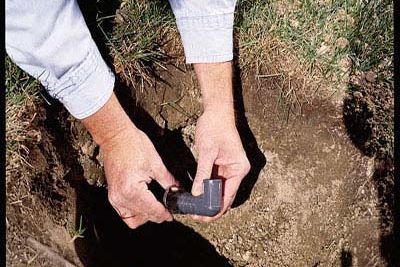
The sprinkler heads can be connected to the pipes in several ways. If drainage isn’t an issue, install a 90-degree elbow with a barb fitting on one end and a female thread on the other.
If drainage isn't required, use a 90-degree elbow at the sprinkler head. Thread a riser into the top of the elbow. If the sprinkler head is located in a low spot on the property, and needs to be drained occasionally, then install a 90-degree drain elbow instead
If you're at a low spot and need seasonal drainage, install a 90-degree drain ell instead.
To drain a low spot under a sprinkler head, use a 90-degree drain elbow. Be sure to position it upright with the threads at the top.
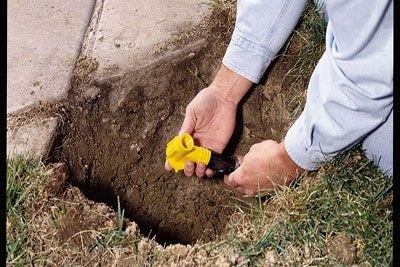
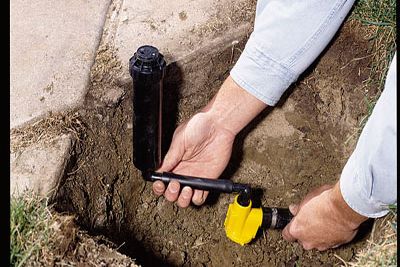
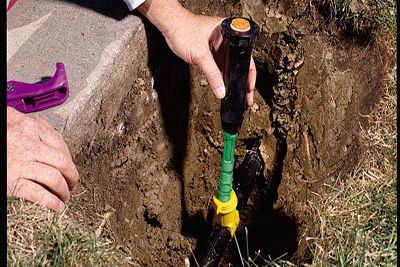
Now, connect a sprinkler head to the elbow with a threaded riser, or make an offset swing pipe. To make a swing-pipe connection, thread one 90-degree elbow into the drain fitting and another into the bottom of a sprinkler head. Use Teflon tape on the threads. Then, join the two elbows with a length of 3/8-in. polyethylene swing pipe.
Connect the elbow to the sprinkler head with 3/8-in. swing pipe. Use Teflon tape, but no crimp rings. The fit is so snug that it doesn't need a crimp ring. Finish by backfilling the hole while tamping down the soil every 4 in.
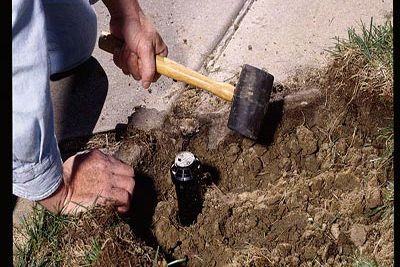
Backfill the hole 4 in. at a time and tamp the soil with a rubber mallet. Then top the bare soil with sod or grass seed.
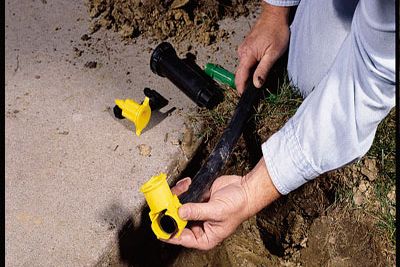
When tapping into a continuous piping run, use the self-tapping saddle valve mentioned earlier.
Press the saddle valve's collar around the pipe and snap it together. You will feel it click when it locks in place. To connect the head, install either a swing pipe or a threaded riser in the top of the fitting
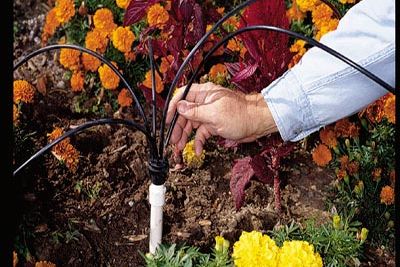
When the pipe is directly under a sprinkler, connect the head with a threaded riser. We equipped this system with three types of heads: spray heads for small grassy sections, rotary heads for the larger areas, and a bubbler for the flower garden. The bubbler sends a trickle of water through 1/8-in. tubing to various spots in the garden.
A bubbler head is specially designed to soak a flowerbed without wetting the foliage.
Final Touches
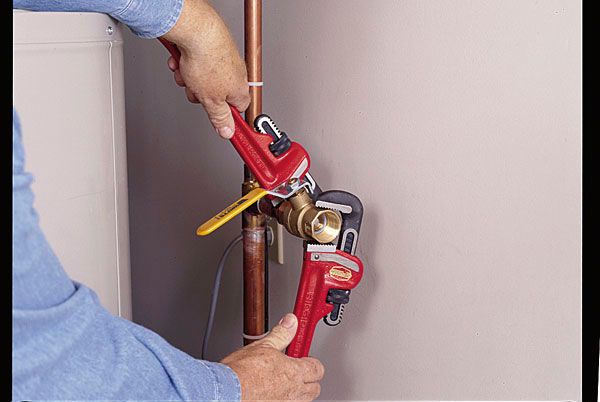
Local plumbing codes will dictate how to tap into your home’s water system, but the installation shown here is fairly typical. Cut into the 3/4-in. water line just beyond the meter and upsized to 1-in. pipe for the sprinkler system. Then, shortly after the tap, install a full-flow ball valve.
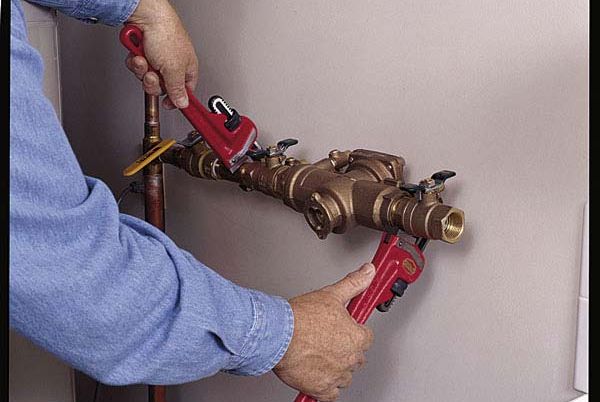
Install a full-flow ball valve so you can service the backflow preventer without shutting off the flow of water to the entire house. After the ball valve, install a brass nipple and the reduced-pressure backflow preventer. Run piping from the backflow preventer to the pipe installed through the rim joist.
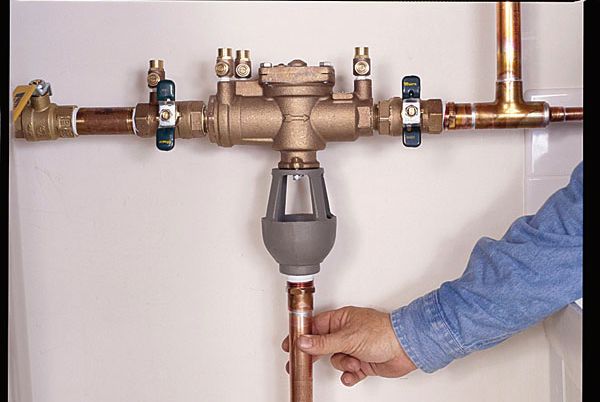
Install the reduced-pressure backflow preventer right after the ball valve. This type of preventer will occasionally back surge, so you'll need a catch basin with an air gap underneath it. Pipe the catch basin to a nearby floor drain with 1-in. pipe. You’ll also need a drain valve in order to drain the overhead line in winter.
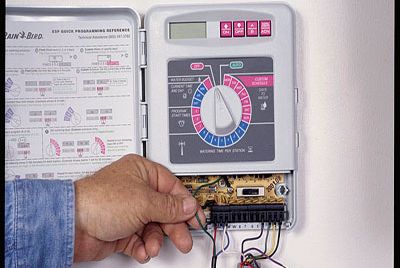
Install an air-gap catch basin on the unit and run a full-size drainpipe to the nearest floor drain. Mount the control panel to a nearby wall. Run the cable into the panel, strip the wires and connect them according to the manufacturer's instructions.
Run the zone-valve cable to the control box. Connect the wires according to the installation instructions.
