
Taffrail Project
When we bought Calypso, a lot of her exterior woodwork had just been replaced. New bulwarks, new taffrail. We noticed fairly early on that there seemed to be minimal clearance on the taffrail (there was no way you could, for example, swing the tiller up out of the way) but we chalked it up to some design element we didn’t understand, trimmed material off of the tiller so it could actually move without interference, and sailed for decades like that.
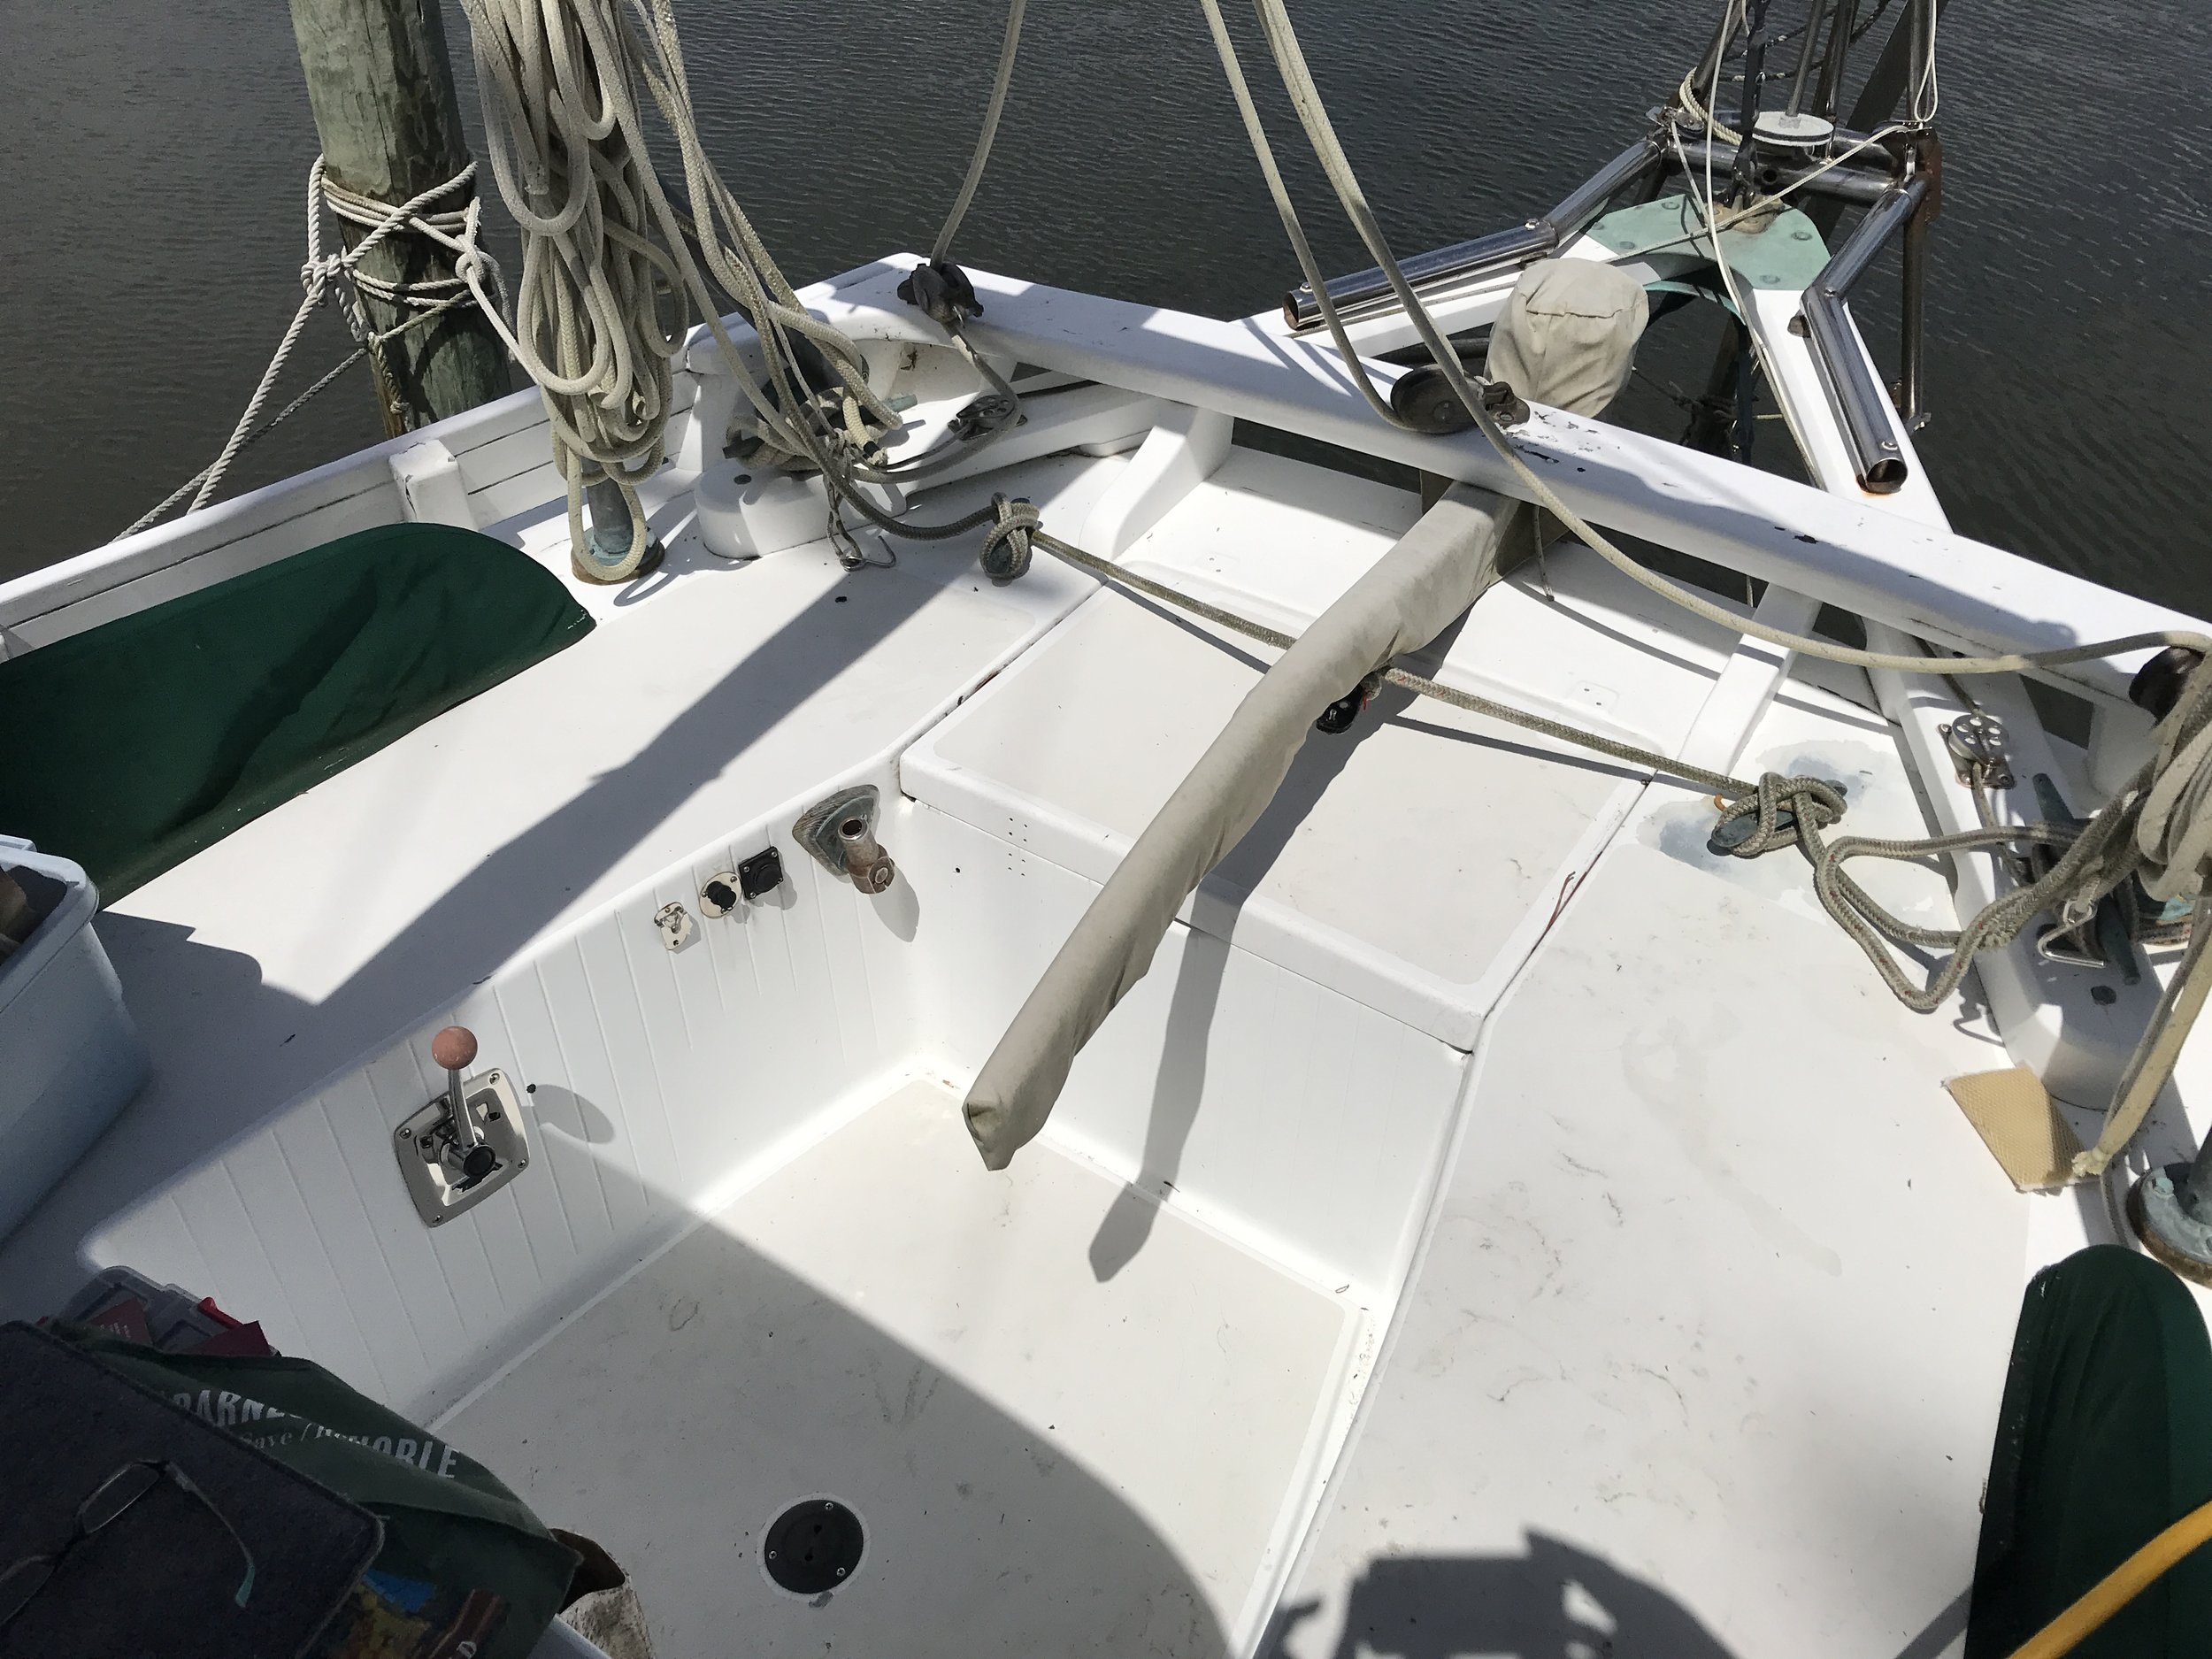
Not much tiller clearance at all.
Jeremy’s been talking for years about redoing the taffrail. He figured out that when the wood was replaced, the taffrail was constructed of 2 thicker pieces of wood laminated together instead of 3 thinner pieces; the result was a flatter curve and less clearance. It’s a major pain to have such little clearance - the tiller has chafe issues and makes a horrible squeaking noise when you need to move it under any kind of load. That the wood was also starting to rot where the glue joint failed helped speed the decision. This haul out is finally the time!
This project has a few steps. Remove the old taffrail. Template new one. Add structure to the existing “knees” so the new taffrail (with proper curve and clearance) has support. Build new taffrail, using the boat as the jig for lamination. Remove now-laminated taffrail for shaping and sealing. Dry fit. Tweak fit. Dry fit again. Finally install the thing!
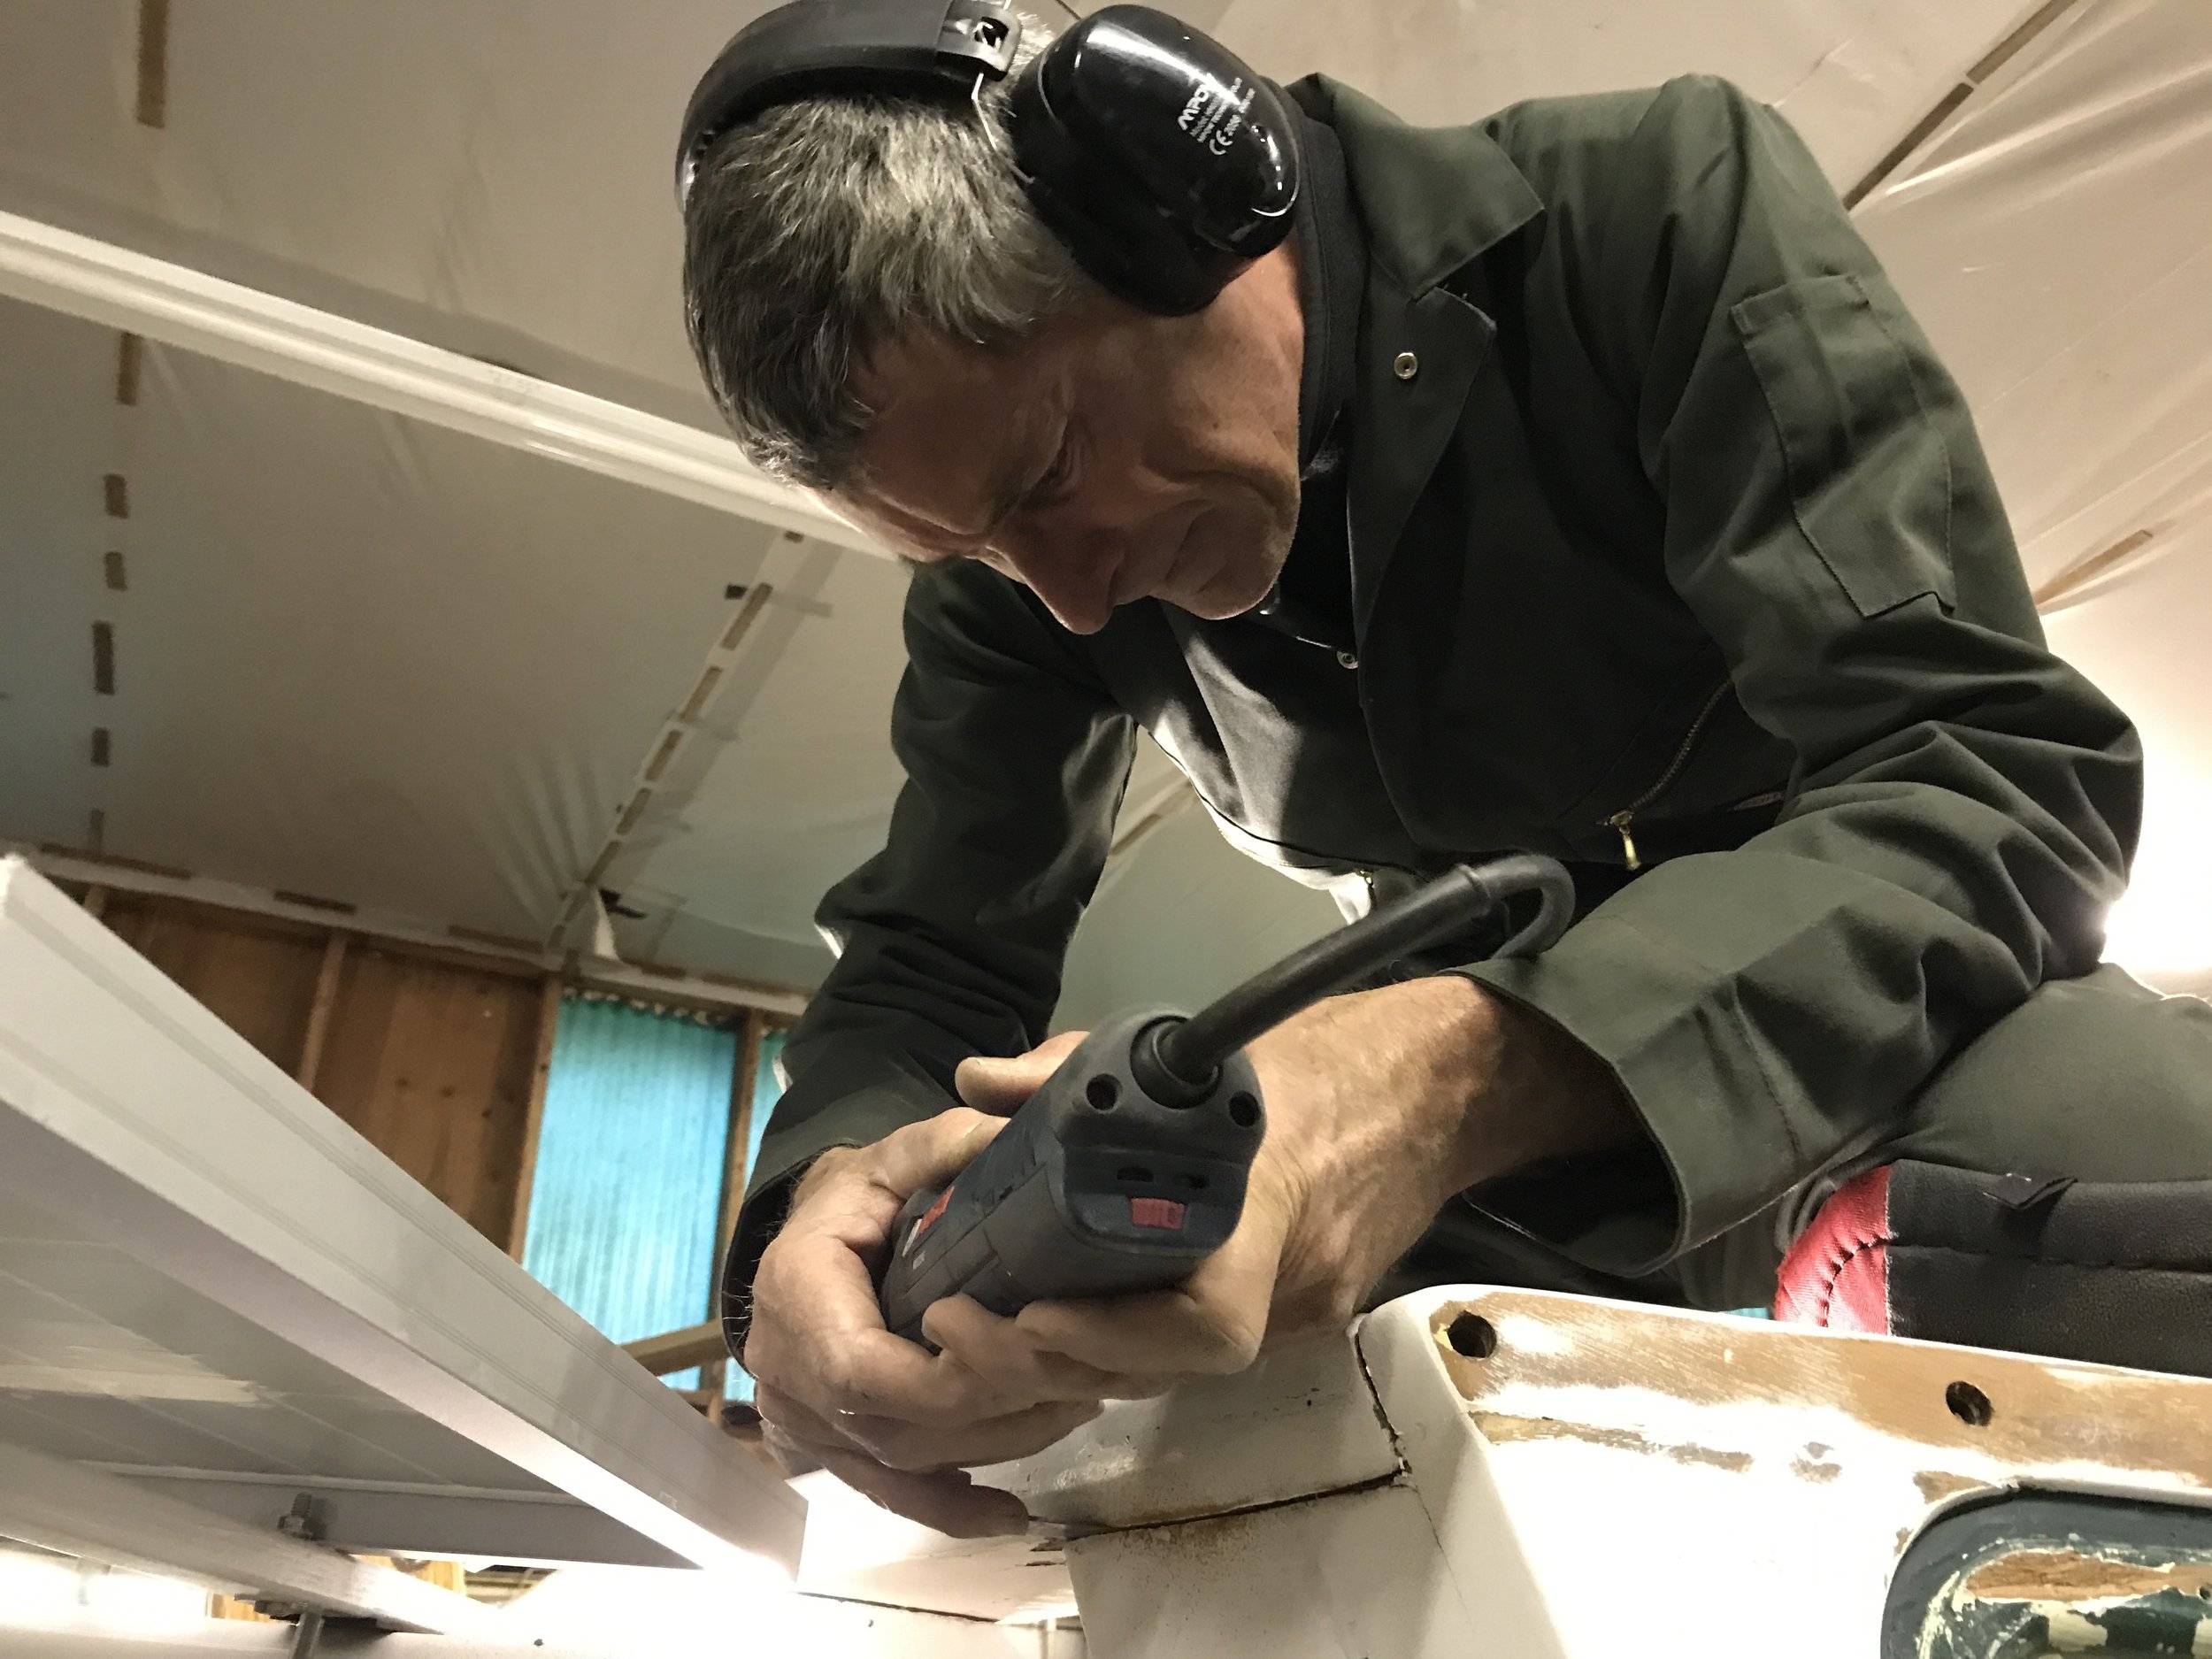
Going at the old taffrail to remove it.
See how much extra clearance we’ll get?
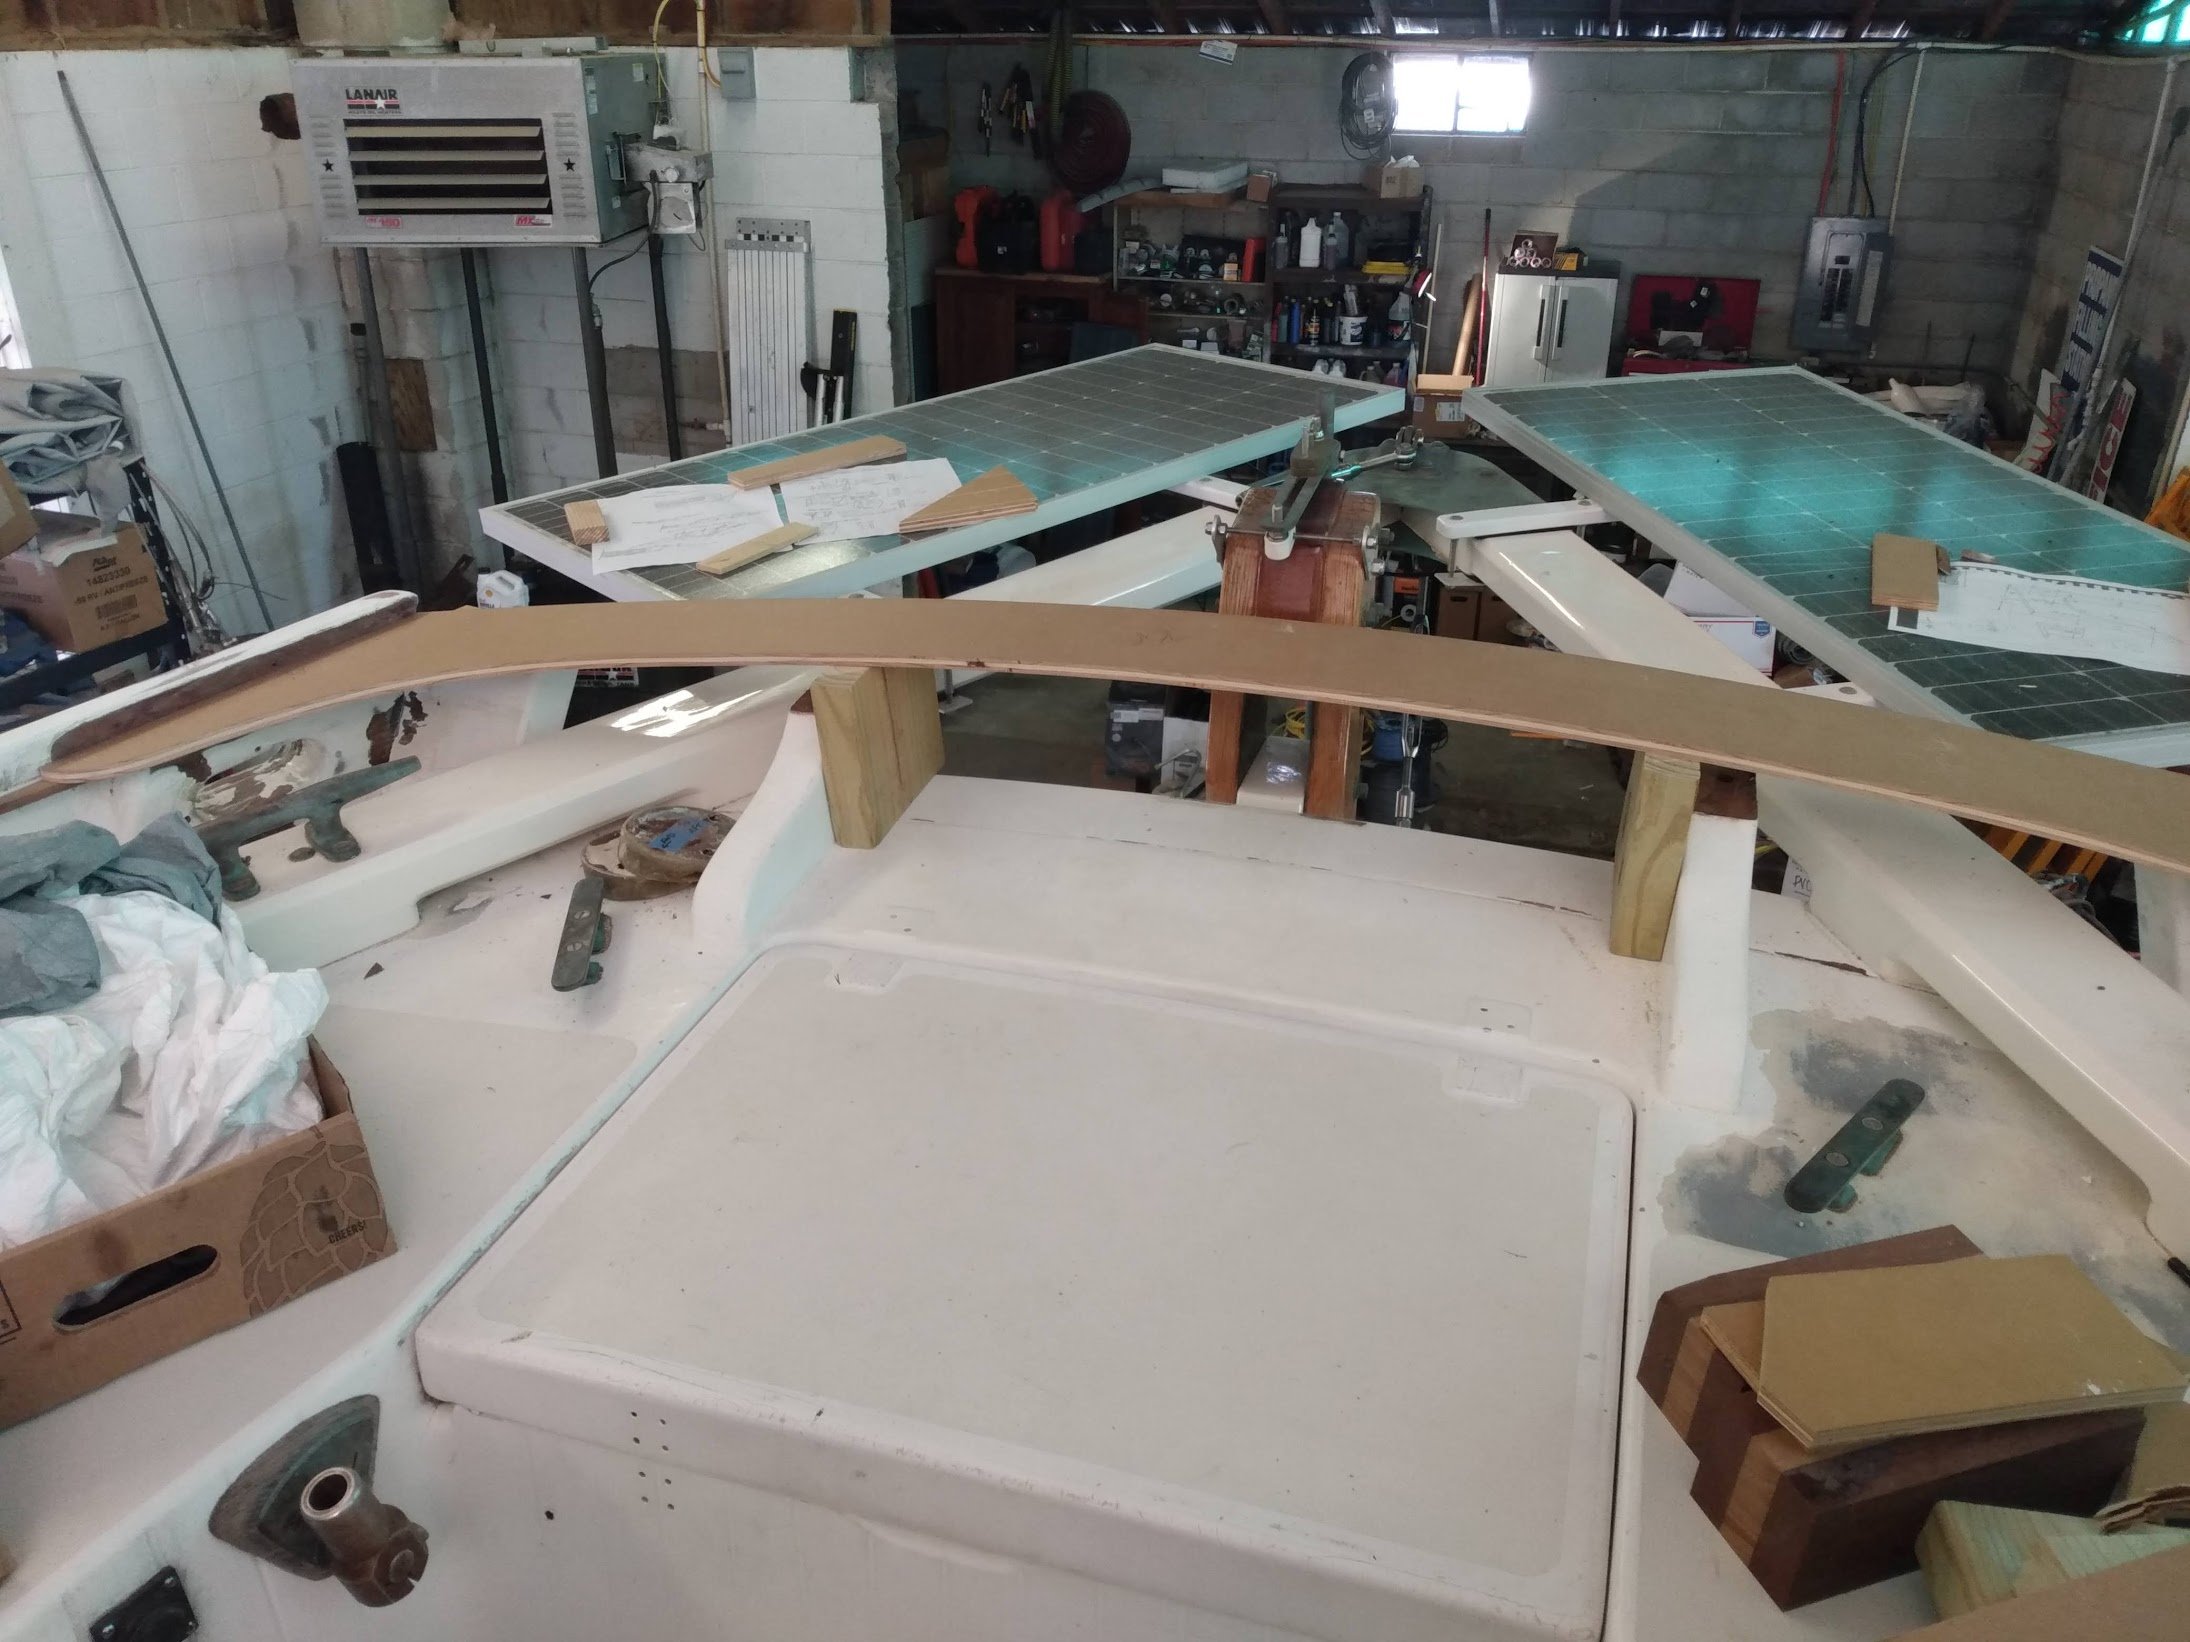
Support pieces dry fit
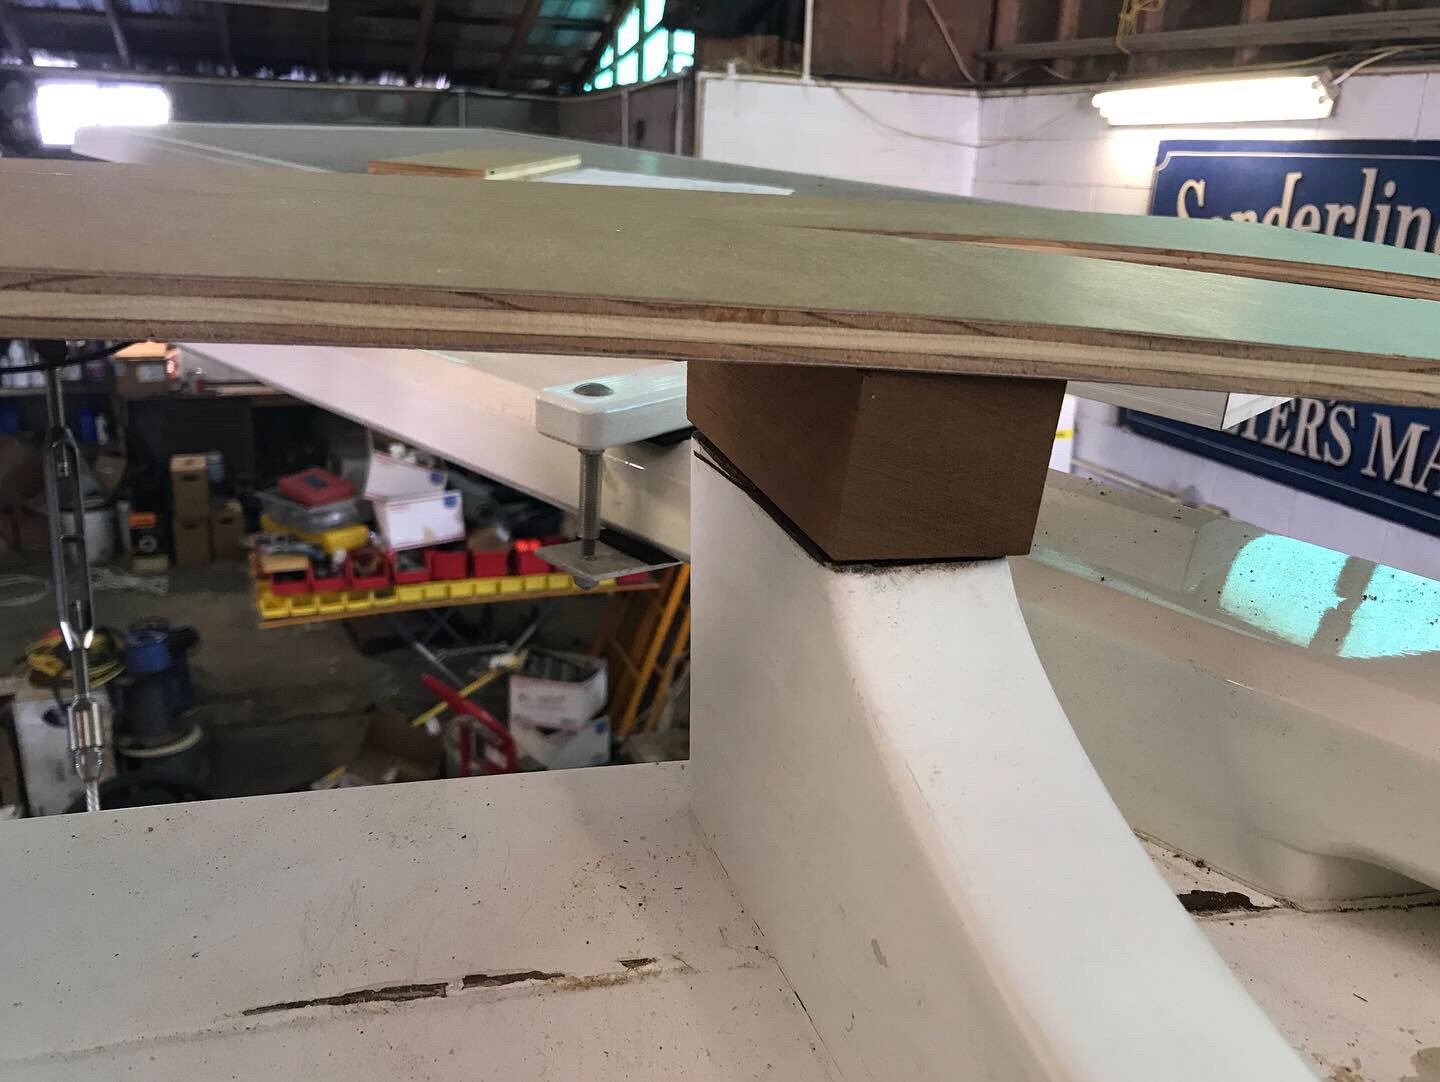
The support pieces have now been glued into position (they will be thru-bolted from the taffrail down); they still have to be shaped a bit and prepped for painting. It will be lovely to not worry about chafe on the tiller in everyday sailing.
For those interested: Jeremy is building the taffrail out of 3 pieces of 1/2” thick MDO plywood (this is sign plywood, with glue that’s designed to withstand the elements - we have tested it by leaving pieces in water for a week with no delamination at all). We’ll coat the taffrail in epoxy to seal it well, filling any voids with thickened epoxy too, before priming and painting (which adds an additional layer of sealing.) Why plywood and not some more traditional wood like mahogany or even teak? Besides the not-insignificant cost, the idea of using a very nice wood that would be totally covered up with paint didn’t seem to make a lot of sense. This plywood is strong, easy to source (especially since we had some in the storage shed already), and relatively inexpensive.
Project progress is sweet!