


It has been several years since I published my first mooncake recipe here on the blog. The first few times I made traditional baked mooncakes, they didn’t have the perfectly golden hue and the salted egg yolk almost peeked through the crust. A few years later with a many rounds of practice, I’m happy to share the better version of the first mooncake recipe — taro and salted egg yolk mooncakes. Here is what I wrote in that recipe a few years back:
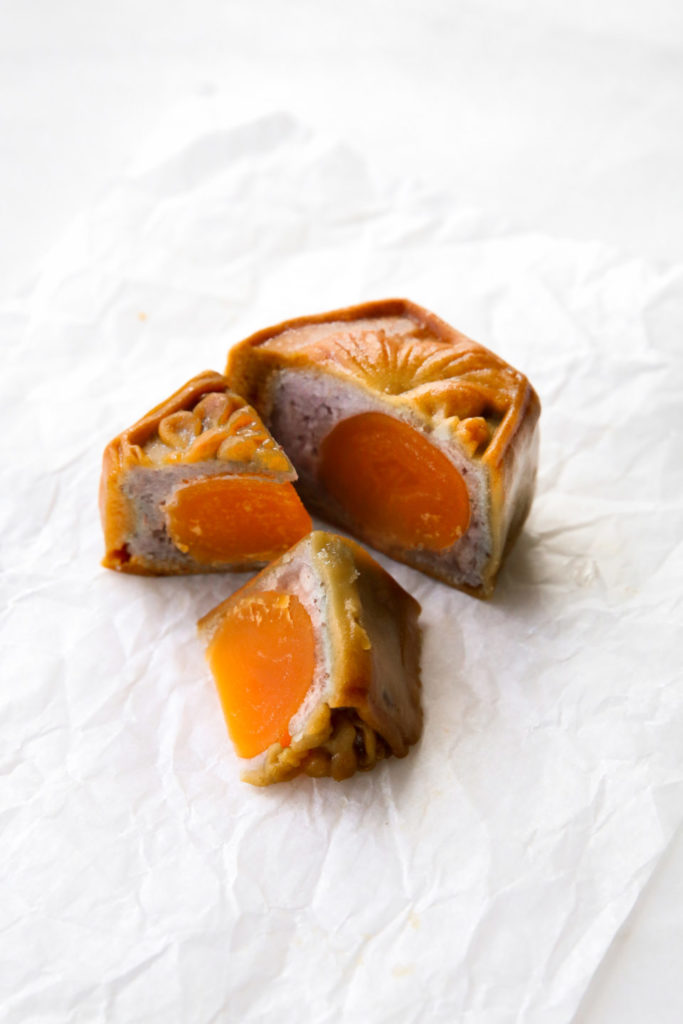
Mid-Autumn Festival has always been one of my favourite holidays and this year it falls on September 24. Growing up, my mid-autumn festivals have always been filled with paper lanterns and mooncakes. I would always have family dinner on the night of mid-autumn and walk over to friends’ houses to play with paper lanterns. When I was younger, I would eat mooncakes just for the salted egg yolk centre. I did not develop an appreciation for the rich and intense lotus seed filling until I got a bit older. A mooncake is not what we normally associate with the word ‘cake.’ It is a puck-sized dessert of an intensely rich and earthy lotus seed paste baked inside a thin, soft crust. A salted duck egg yolk in the centre of the mooncake to represent the full moon on mid-autumn. The salted egg yolk is slightly sweetened by the lotus seed filling and is the perfect combination of sweet and savoury.
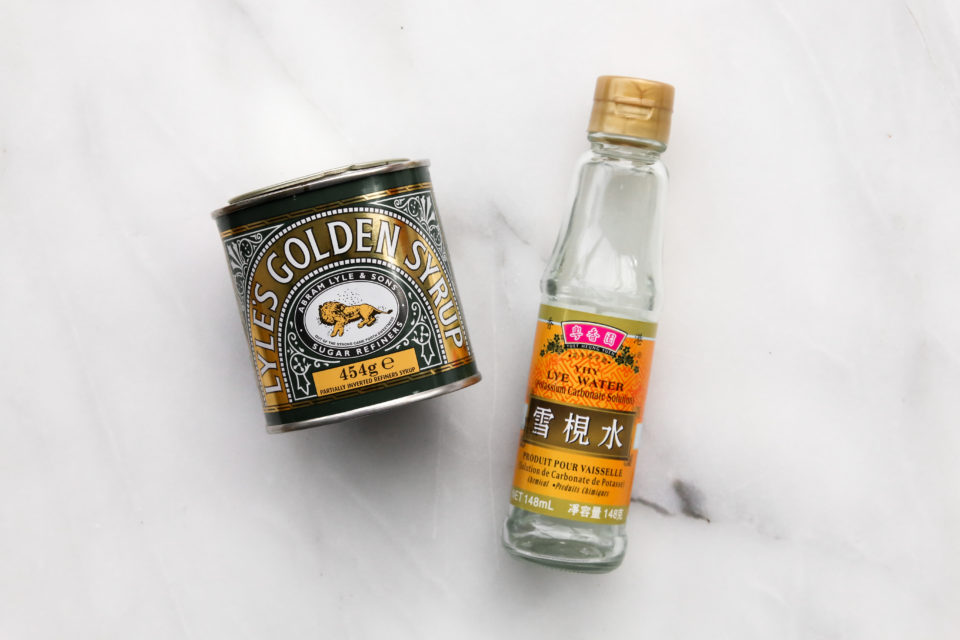
The biggest difference between these mooncakes today and the mooncakes several years back is from the additional of two key ingredients: golden syrup and lye water. These two ingredients work together to create the perfectly deep golden colour you see in store-bought mooncakes. A few years back, I made my own alkaline solution instead of buying lye water and used honey for golden syrup. The mooncakes still tasted great but the appearance left much to be desired; they were much paler in comparison.
Alkaline water (lye water) or kansui is a solution that regulates acidity in the process of dough making. Alkaline water may sound foreign but you probably have encountered it before — it is what make many types of Chinese egg noodles and Japanese ramen have a springy mouthfeel and take on it’s distinct bright yellow colour.
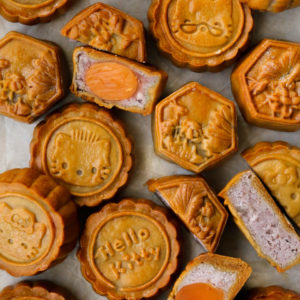
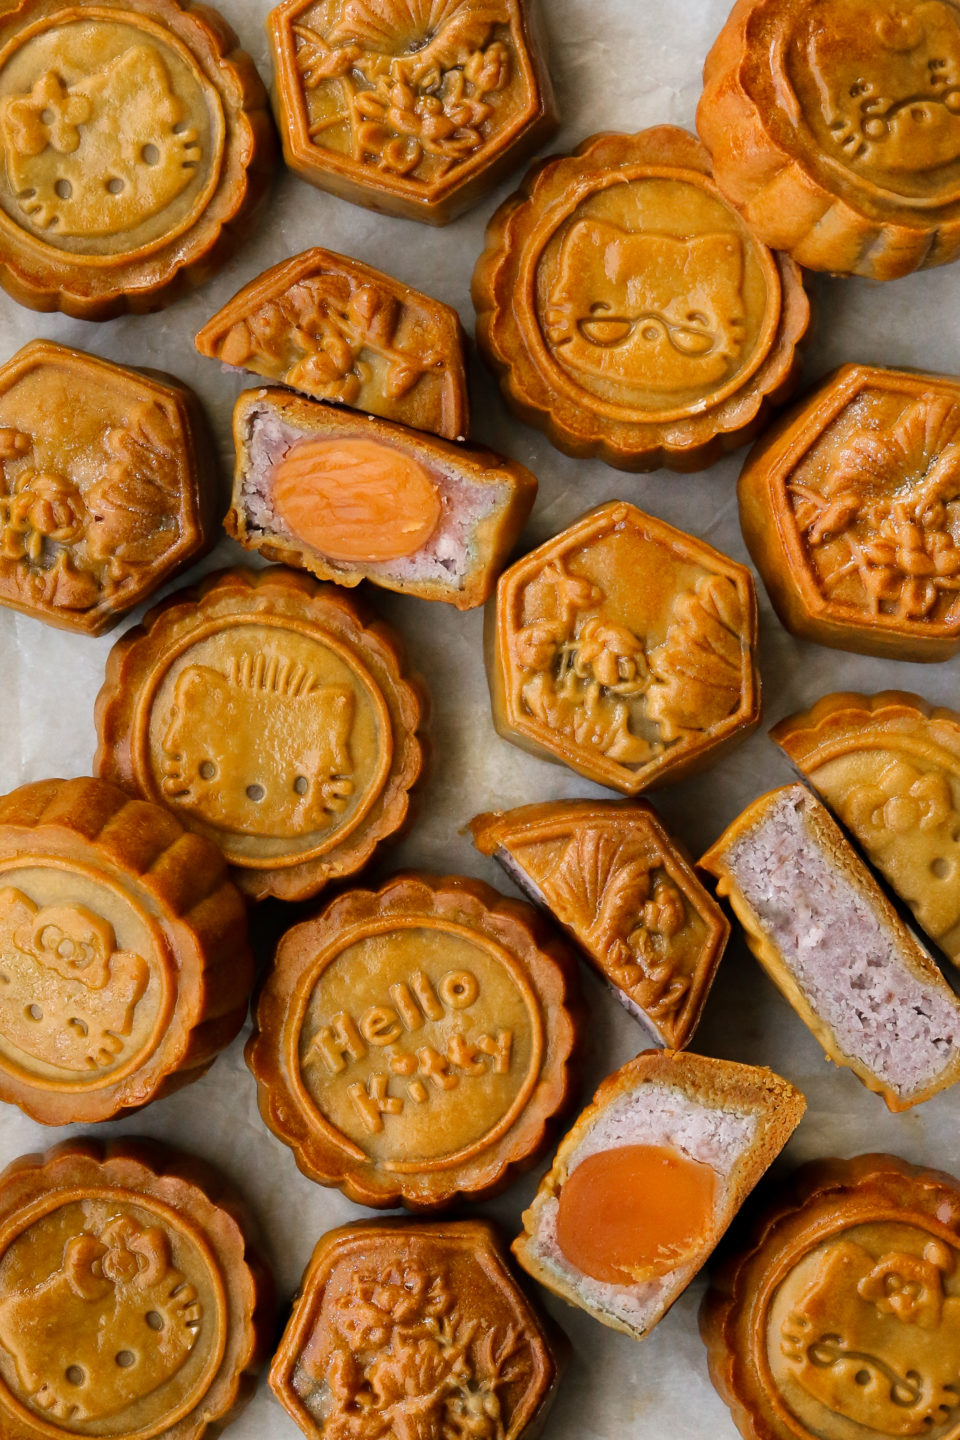
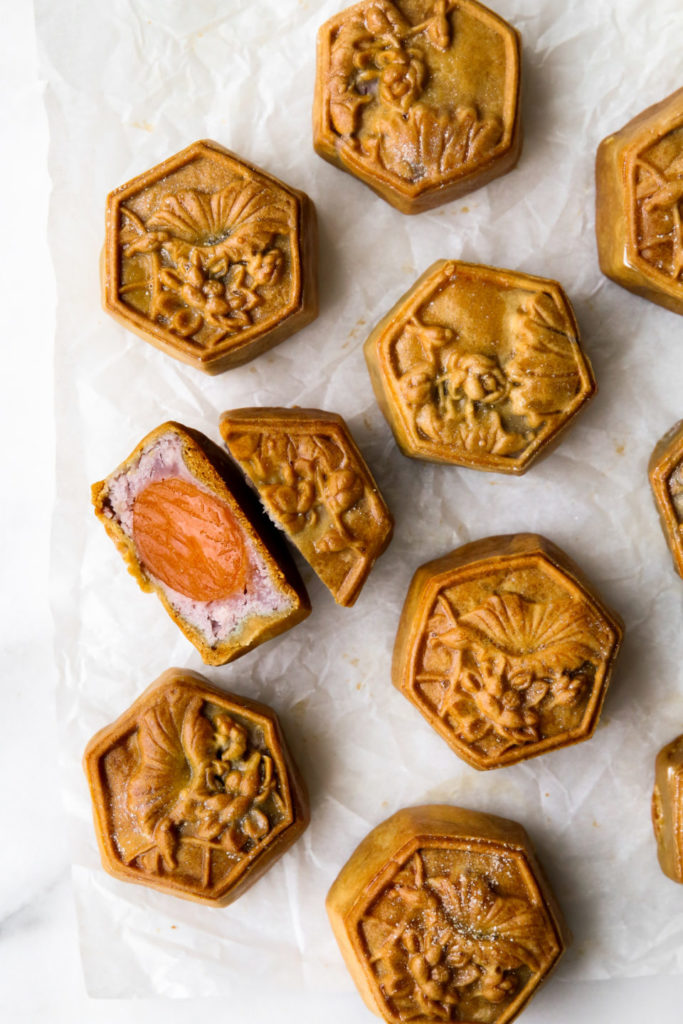
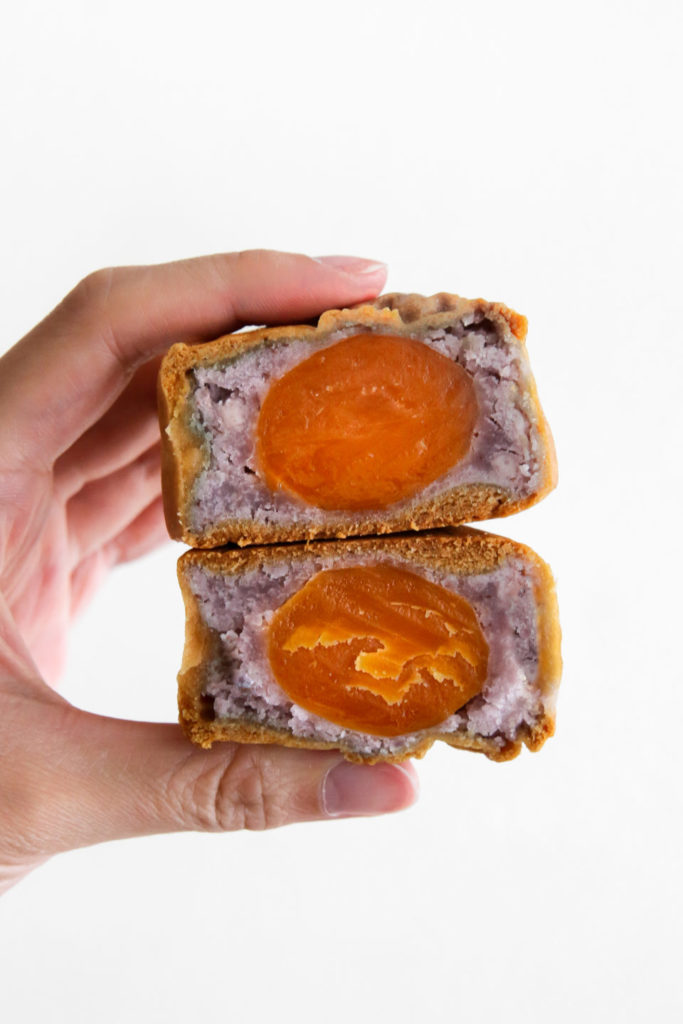
Traditionally mooncakes have a lotus seed paste filling. The lotus seed paste is sweet, rich, and earthy. Larger mooncakes will usually have a whole salted duck egg yolk, which represents the moon on mid-autumn. For me, the salted duck egg yolk is the best part of the mooncake, especially when it has been lightly sweetened by the lotus seed paste that surrounds it. Throughout the years, the options and variety for mooncake fillings have changed. Of course the traditional lotus seed filling is still a popular choice, but you can also find fruit and tea-flavoured mooncakes in stores. Another popular variation is the ‘snow skin mooncake,’ which is a non-baked mooncake wrapped in a glutinous rice wrapper, much like mochi.
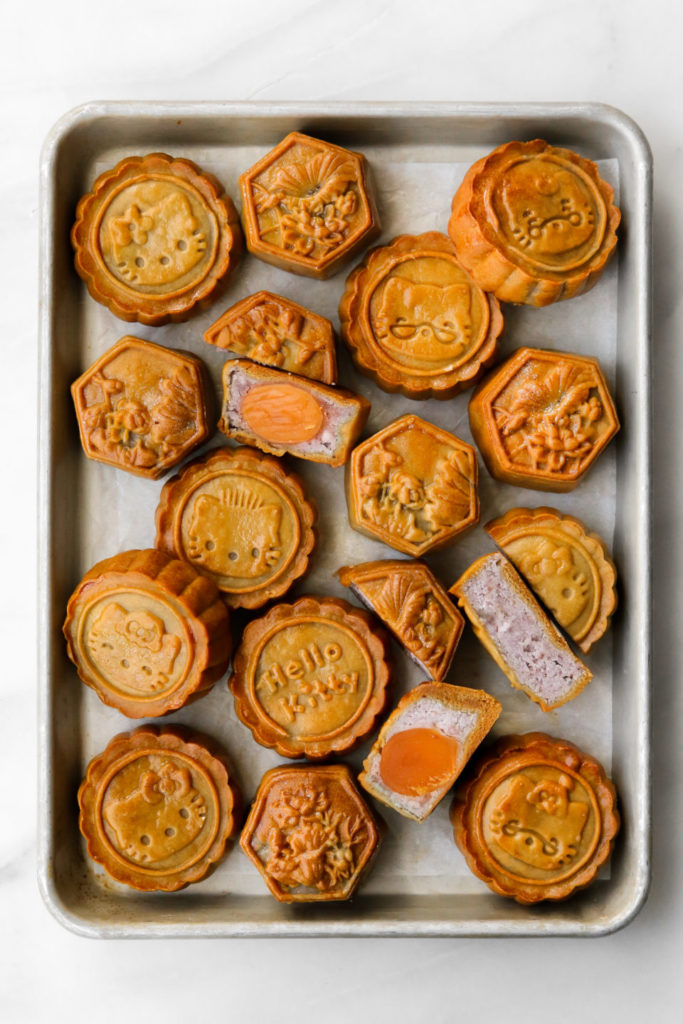
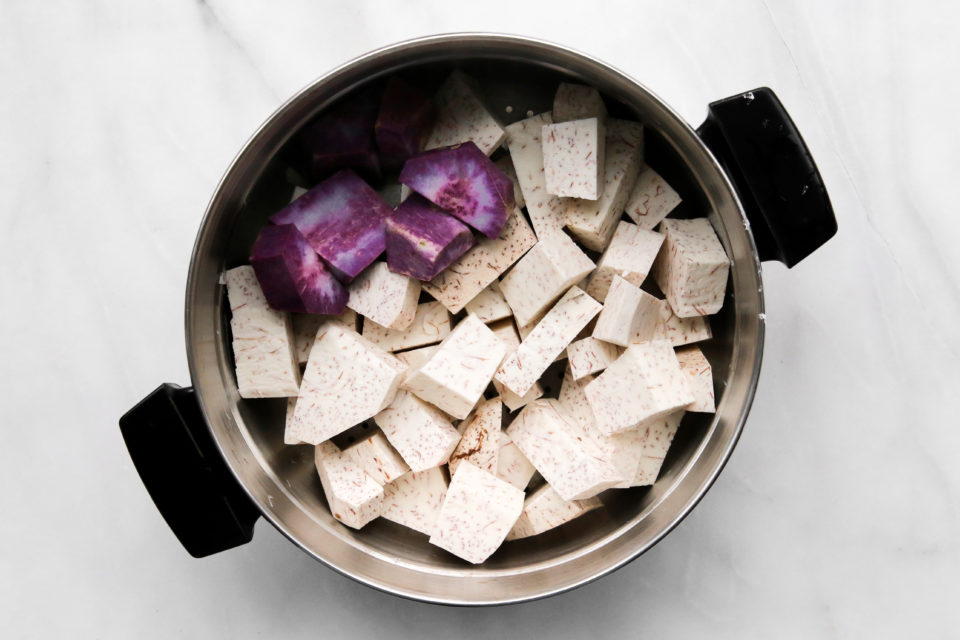
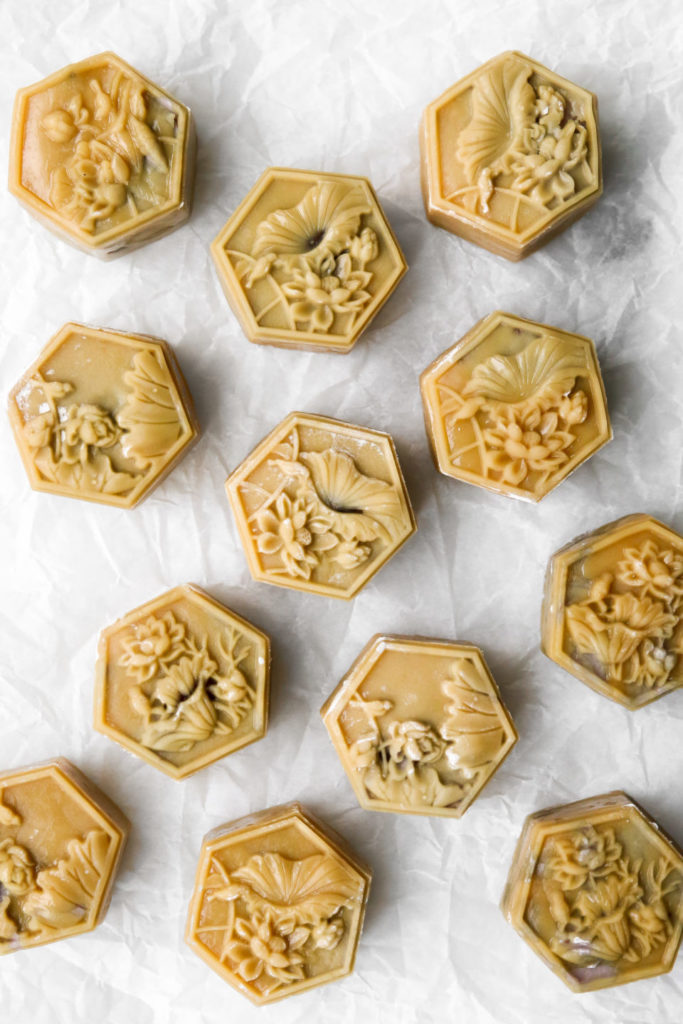
For my mooncakes I opted for the more traditional baked variety — I love the sheen and the golden colour of the traditional mooncake. Instead of a lotus seed filling, these homemade mooncakes are filled with taro and of course, the salted duck egg yolk. Taro fillings are more common with snow skin mooncakes but they are just as good in the traditional baked crust. I added a purple yam to the taro mix to increase the intensity of the purple colour of the filling. Coconut milk is added to the taro filling to give body and flavour.
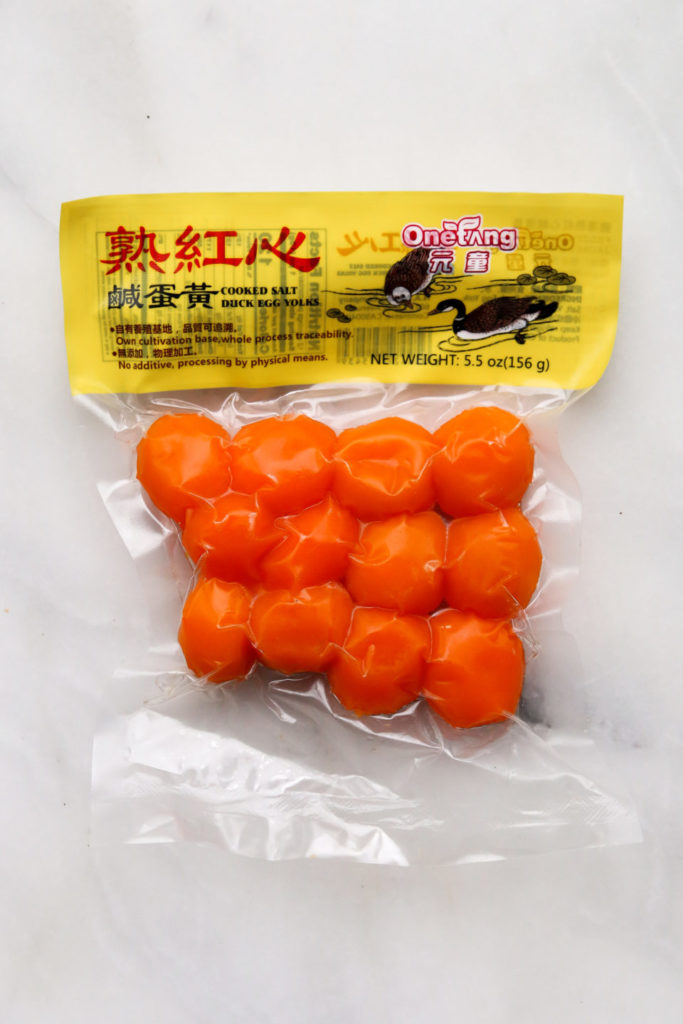
If you are making your own mooncakes and want to have a salted duck egg yolk in yours as well, you want to use cooked salted duck egg yolks in your mooncake. Sometimes raw and cooked salted egg yolks are hard to distinguish because the curing process has solidified the raw yolk. The easiest way is to buy a pack of cooked salted duck egg yolks for your mooncakes. If you can only find raw ones, simply place the yolks on a baking sheet and bake them at 250F for roughly 7 minutes to cook them. I tried buying whole, cooked salted eggs and removing the egg whites myself (this option is much cheaper!) but the yolks weren’t as vibrant and rich as the ones that come in the yolk-only packages. The mooncakes will be just as tasty though.
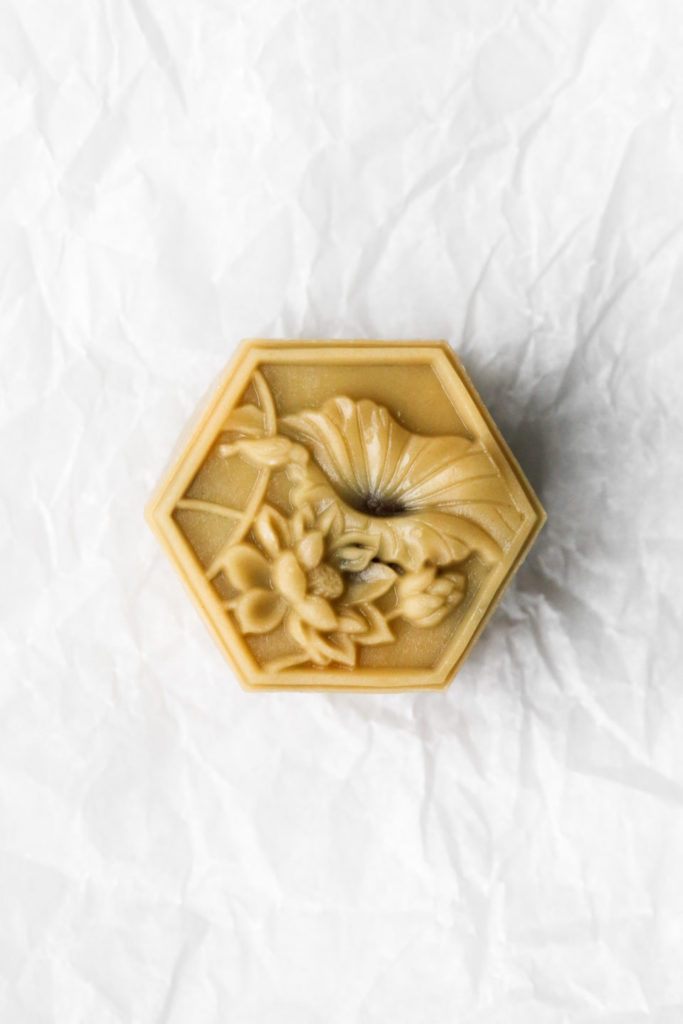
One last note about mooncakes before you start on your own mooncake journey — you can use whatever size or shape mooncake mold you like. Mooncake molds come in many forms, from traditional wooden paddles to more modern plastic plungers. They also come in several sizes; 50g molds and 100g molds are the most common. I used a 50g mold for mine but this recipe will work just as well for a larger mold. Whatever size mold you opt for, I like to keep a ratio of 35g filling to 15g crust (7:5 ratio) for a balanced mooncake. Having a scale really helps!
I’ve received quite a few messages about where to get mooncake molds. I bought mine from a variety of places but my go to is to look at local shops in Chinatown (support local whenever you can!). If your local Chinatown kitchen stores don’t have mooncake molds or if Chinatown isn’t accessible to you, mooncake molds can easily be found on Amazon or AliExpress. AliExpress has the most variety.


Taro and Salted Egg Yolk Mooncakes
Ingredients
Taro Coconut Filling
- 900 g taro and/or purple yam, steamed
- 150 g granulated sugar
- 60 ml full-fat coconut milk
- 1/2 tsp kosher salt
Salted Egg Yolk
- 12 cooked salted duck egg yolks, can omit, and use more taro filling for mooncakes
Mooncake Dough
- 140 ml golden syrup, okay to sub honey but mooncakes will be less golden
- 1 tsp lye water (kansui)
- 80 ml vegetable oil
- 200 g all-purpose flour
Egg Wash
- 1 large egg yolk
- 1 tbsp water
Instructions
Taro Coconut Filling
- Wash and peel taro root with potato peeler. Wearing gloves for this step is helpful because raw taro can leave skin feely waxy and itchy. Cut taro into 1 inch cubes. Repeat steps for purple yam.
- Place taro and purple yam cubes into a steamer or steaming basket. Steam until tender to the fork, about 30 minutes.
- Remove taro and yam from steamer. Using a fork or potato ricer, mash the root vegetables into a smooth paste. Alternatively, transfer taro and yam to the bowl of a stand mixer and use paddle attachment to beat the mixture until smooth
- Add coconut milk, sugar, and salt to the mixture. Mix until well combined and paste is smooth.
- Transfer filling to the fridge for 2 hours. Chilled taro filling is much easier to work with.
Mooncake Dough
- In a large measuring cup, whisk together golden syrup, vegetable oil, and alkaline water.
- Add the mixture to flour. Using a rubber spatula, fold and combine everything into a soft, smooth dough. Do not overwork the dough.
- Cover the dough and let it rest in the refrigerator for an hour.
Assembly
- Preheat oven to 325F.
- Weigh out 35g scoops of taro filling and gently shape each portion into balls. If using salted egg yolks, you want the taro filling and salted egg yolk to add up to 35g.
- Weigh out the dough into 15g pieces. Keep any leftover dough to use for mending when dough cracks during shaping process.
- Take one of the taro balls and make a deep well in the middle. Insert one salted duck egg yolk into the well. Close the top and reshape into a ball, trying to make sure the egg yolk is as centred as possible. Repeat for the remaining portions of filling.
- Lightly dust mooncake wrapper dough balls with flour. Roll out dough ball between two pieces of parchment paper into a 4-inch round.
- Put one ball of the taro filling at the centre of the rolled out dough. Carefully use the parchment paper to fold the dough onto the filling so that it wraps around the filling. It is okay if your dough cracks — we can reshape it and patch any holes with the reserved dough.
- Turn the opening side up and slowly press together to close the opening, covering all surfaces of the filling. Keep the distribution of dough as even as possible.
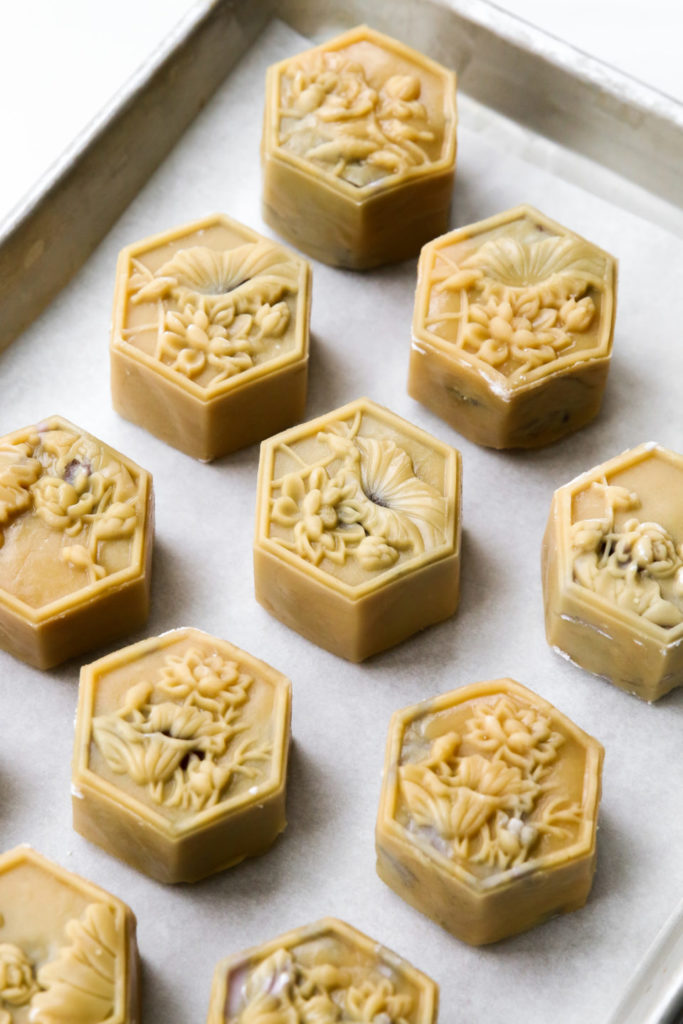
- Using a brush, dust mooncake mold with flour. Place assembled dough ball into the mold. With the mold facing upwards, apply gentle pressure to shape the dough ball into the mold cavity. Flip the mold over and press the mooncake down with the top pressure bar. Gently guide the mooncake out of the mold.
- Place moon cakes onto a parchment-lined baking sheet.
- Using a spray bottle, gently mist the moon cakes with water. Alternatively you can very gently use a pastry brush to brush on a very thin layer of water onto the top of the moon cakes. This will prevent the moon cakes from cracking when baking.
- Immediately put the mooncakes in the oven and bake for 5 minutes.
- While the mooncakes are baking, prepare the egg wash by whisking together egg yolk and water.
- Once five minutes are up, take mooncakes out of the oven and place on a wire rack. Brush a thin layer of egg wash onto the mooncakes, making sure there are no large puddles of egg wash. Large wells of egg wash will make your moon cake design less defined.
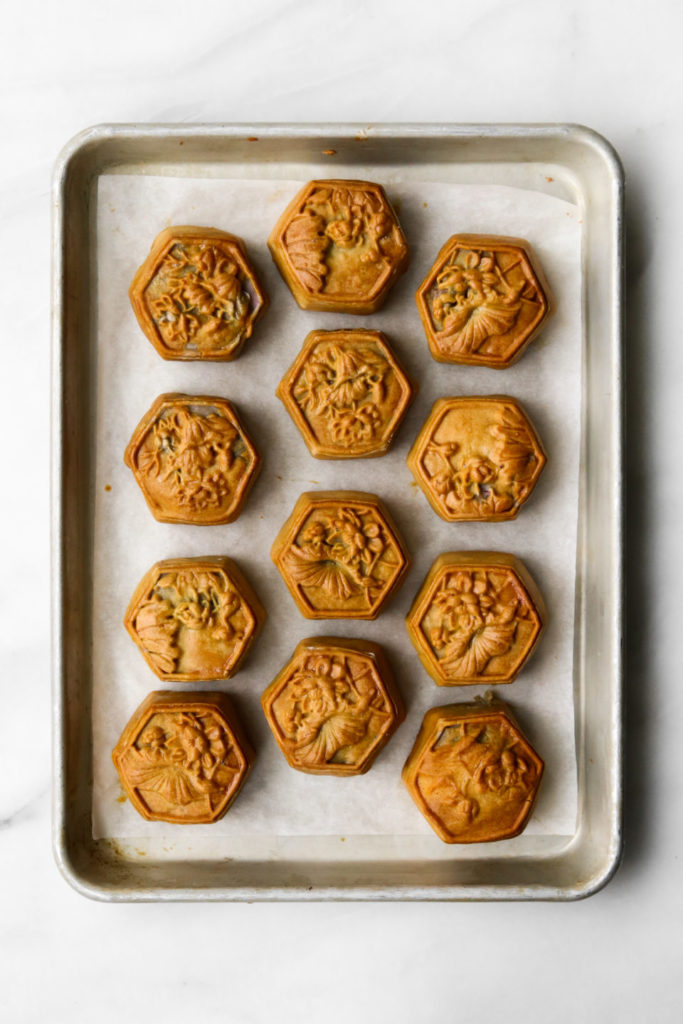
- Bake for an additional 15 – 20 minutes until deep golden brown.
- Remove mooncakes from oven. The mooncakes will look dry at this point (vs. the glossy sheen of moon cakes from the store). Store the cooled mooncakes in an airtight container for a day and the skin will develop the glossy finish we associate with traditional mooncakes. You will start to see this sheen develop within the first couple of hours.


Leave a Reply