
How to Install a Home Sprinkler System
Installing a home sprinkler system can seem daunting, but with the help of Kern Turf Supply, it doesn’t have to be. We’re recognized as the irrigation systems industry leader for the southern San Joaquin Valley, and we’ve been providing quality products and services to local homeowners and businesses since 1958.
In this blog post, we’ll break down every step of the home sprinkler system installation process so you know what to expect. We’ll also discuss the different products and services we offer at Kern Turf Supply, so you can be sure you’re getting the best possible service.
Step 1) Gather Information About Your Water Supply
The first thing you need to do when installing a home sprinkler system is to gather information about your water supply. This includes the type of water (city water or well water), the water pressure, and the flow rate. This information will help determine the size of the pump and the piping that you’ll need for your home sprinkler system.
Step 2) Choose the Right Sprinkler Heads and Gather Supplies
There are many different types of sprinkler heads available on the market, so it’s critical to choose the right ones for your home. The type of lawn you have, the climate you live in, and your budget will all play a role in deciding which sprinkler heads are best for you.
Step 3) Plan the Layout of Your Sprinkler System
Once you’ve chosen the right sprinkler heads, it’s time to plan the layout of your home sprinkler system. This includes deciding where the sprinkler heads will be placed, how many zones you’ll need, and what type of piping you’ll use.
Step 4) Use Stakes and String to Guide Your Installation
Once you’ve planned the layout of your home sprinkler system, it’s time to start installing it. Begin by putting stakes in the ground where the sprinkler heads will be placed. Then, use string to connect the stakes and create a guide for installing the piping. This will ensure that your home sprinkler system is installed correctly.

Step 5) Dig Trenches for Your New Sprinkler System
Next, use a shovel or trencher to dig trenches for the main line and the lateral lines. The main line is the pipe that will carry water from the pump to the sprinkler heads. The lateral lines are the pipes that will connect the main line to the sprinkler heads.
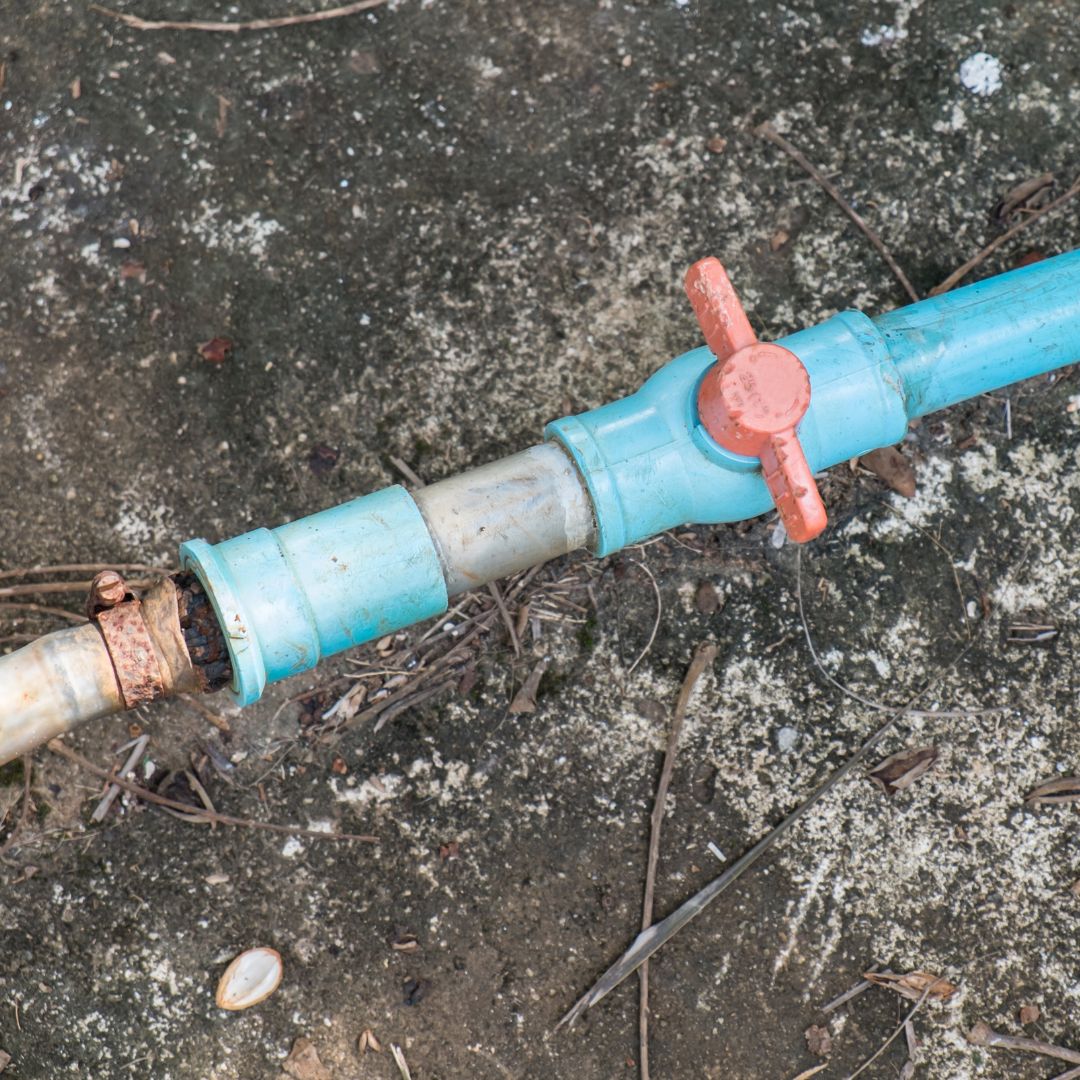
Step 6) Connect Your Pipes to Ensure You Have Enough Water Pressure
After you’ve dug the trenches, it’s time to start connecting your pipes. Begin by connecting all of the piping materials that you have chosen for your home sprinkler system. This includes the main line, the lateral lines, and any fittings or valves that you’ll need. Make sure to connect everything securely so that you don’t have any leaks.
Step 7) Hook Up to the Water Source
Now that your home sprinkler system is installed, it’s time to hook it up to the water source. The next step is to connect your assembled pipe to the main water source. You have the option of connecting your control valve to an existing faucet or directly to the service line; however, if you choose the latter, it would be best to hire a professional plumber. Your PVC sprinkler pipe will also connect to the control valve.
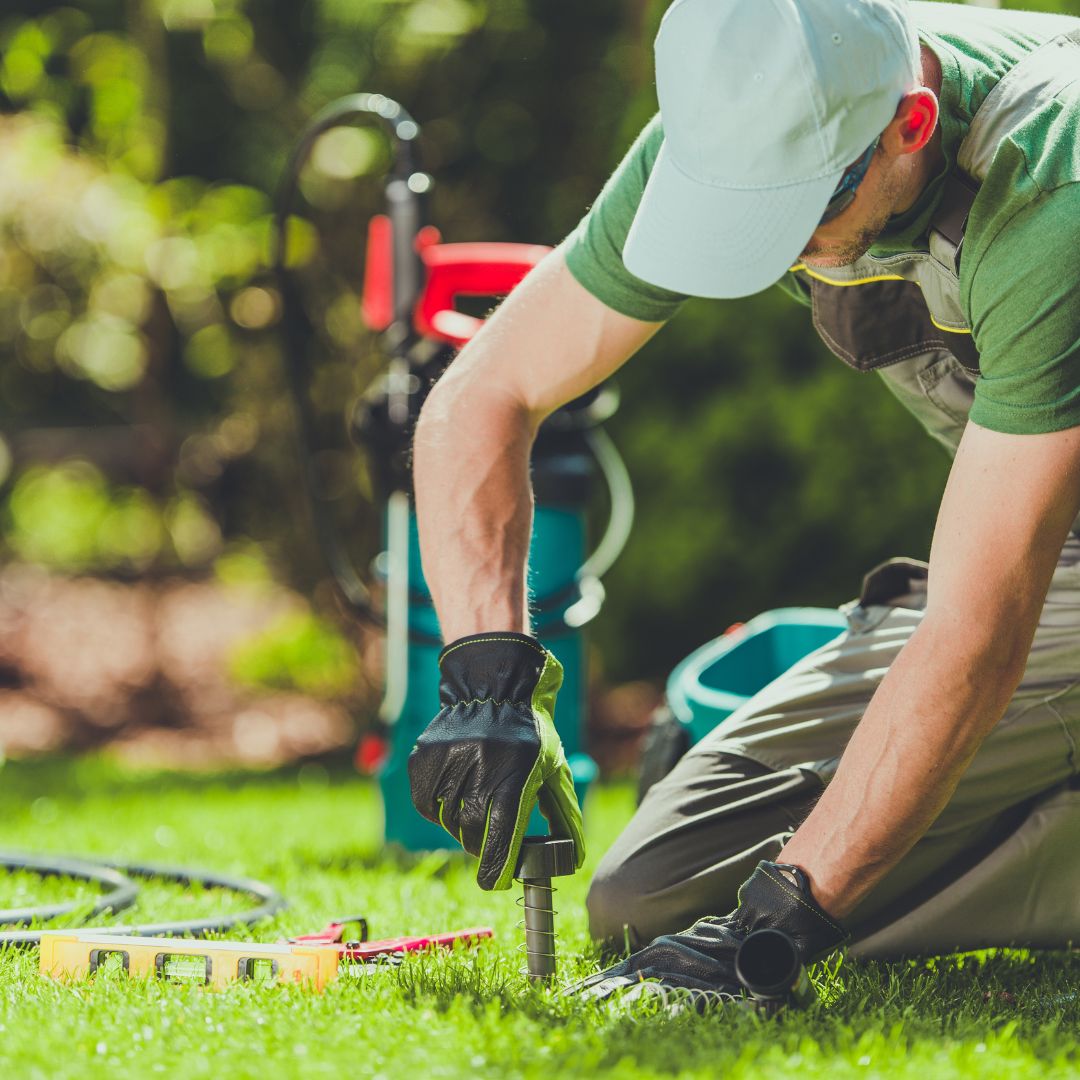
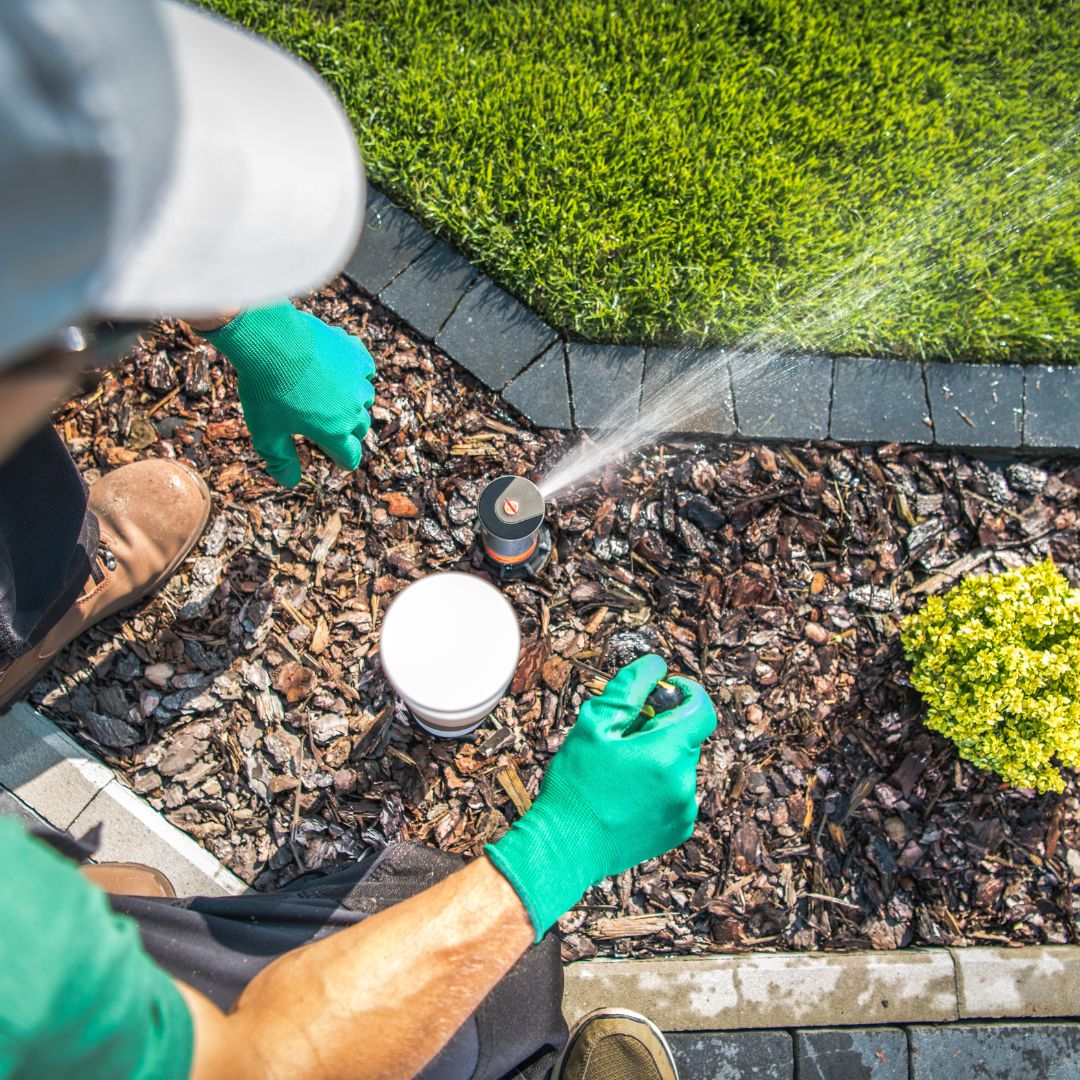
Step 8) Attach the Risers
Place a riser into each tee connection along your PVC pipe irrigation system. The length of the riser will be determined by how far away the sprinkler heads are from the main line. You’ll need to measure the distance between each tee connection and the sprinkler heads before you can cut and attach the risers.
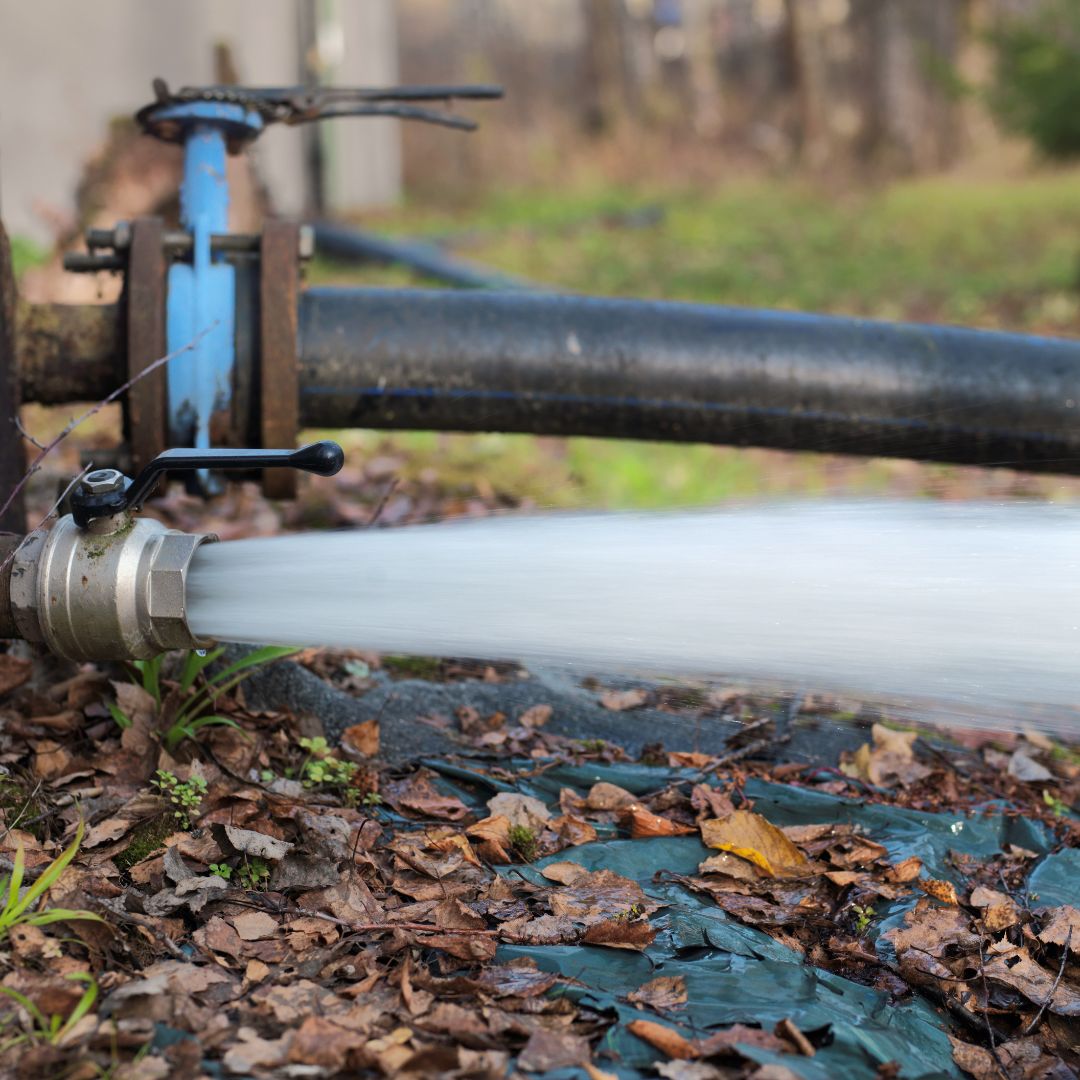
Step 9) Flush Out Your New System System
After all of the risers are in place, it’s time to flush out your home sprinkler system. This step is crucial because it will remove any dirt or debris that may have gotten into the pipes during installation. To flush out your home sprinkler system, simply turn on the water and let it run through the pipes for a few minutes.
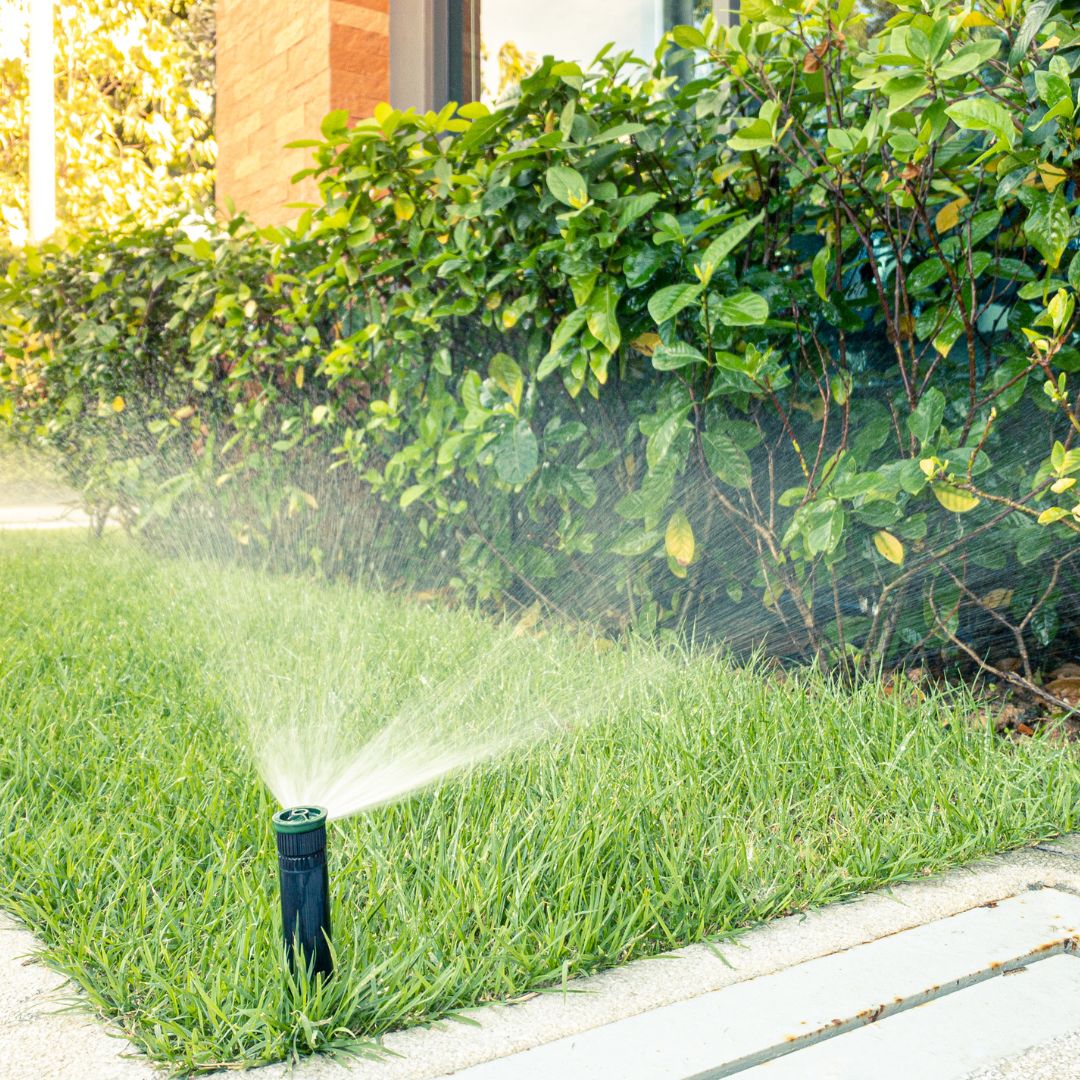
Step 10) Install the Sprinkler Heads
Now that your home sprinkler system is installed and flushed out, it’s time to install the sprinkler heads. Begin by screwing the sprinkler heads into the risers. Make sure that each sprinkler head is pointing in the right direction so that it will water your lawn correctly. Once all of the sprinkler heads are in place, you’re almost finished!
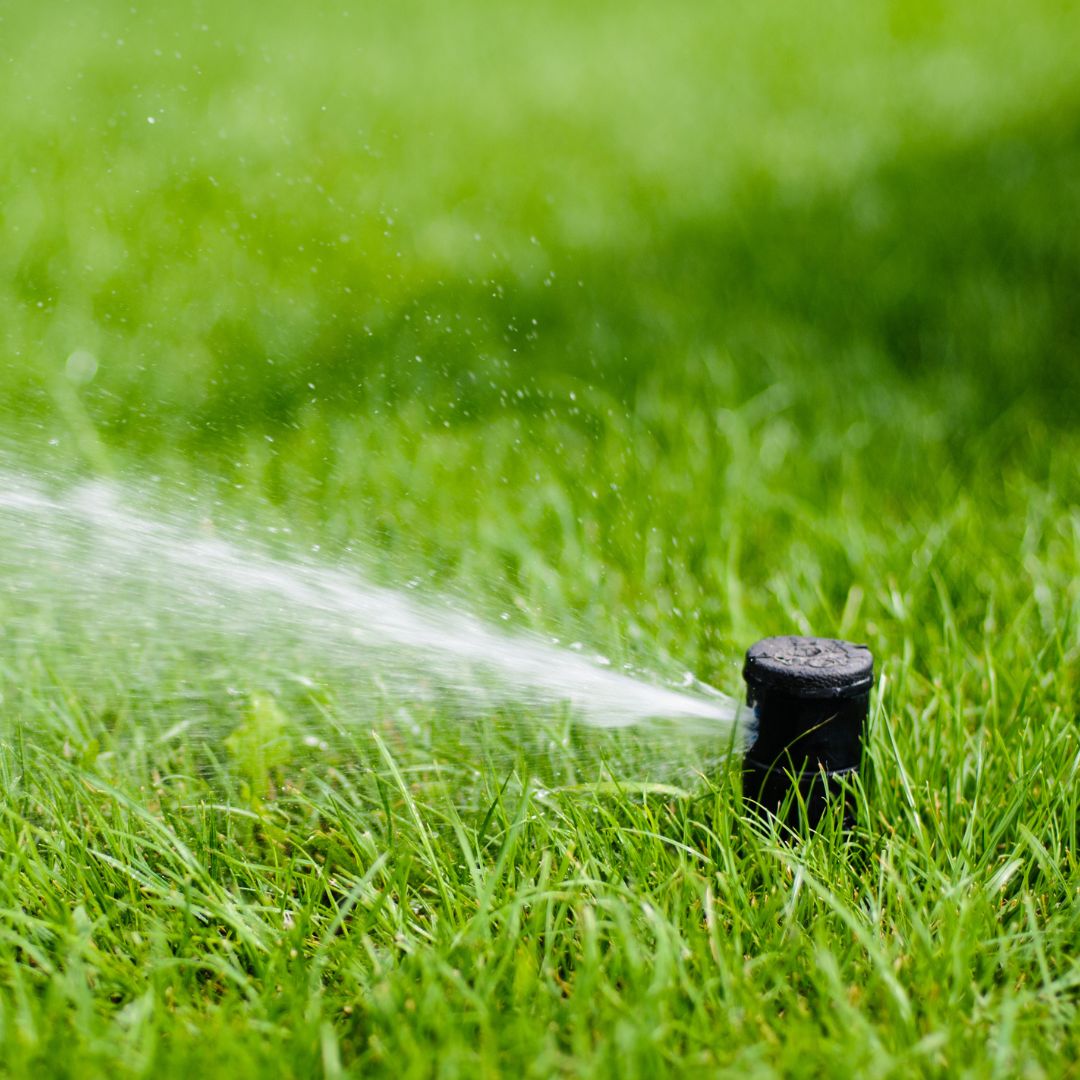
Step 11) Test Your System and Bury the Pipe
The final step is to turn on your home sprinkler system and test it out. Once you’ve verified that everything is working correctly, you can bury the pipe. You want to ensure that after all of the hard work you put in, your home sprinkler system is protected from everything nature has to offer. Once you are finished here, congratulations! You have installed your home sprinkler system and are ready to enjoy a lush, green lawn. Kern Turf Supply offers many different products to help you maintain your new home sprinkler system, so make sure you stop by!
If you have any questions or need help troubleshooting, Kern Turf Supply‘s irrigation experts are always available to assist you. We’re proud to offer our customers an award-winning technical service department. Our irrigation experts are highly trained and experienced in all things irrigation. Contact us today to learn more about our services, or if you have questions!